Configuring Active Directory is one important step during your Okta implementation. Now we will show you the steps required to perform the initial setup.
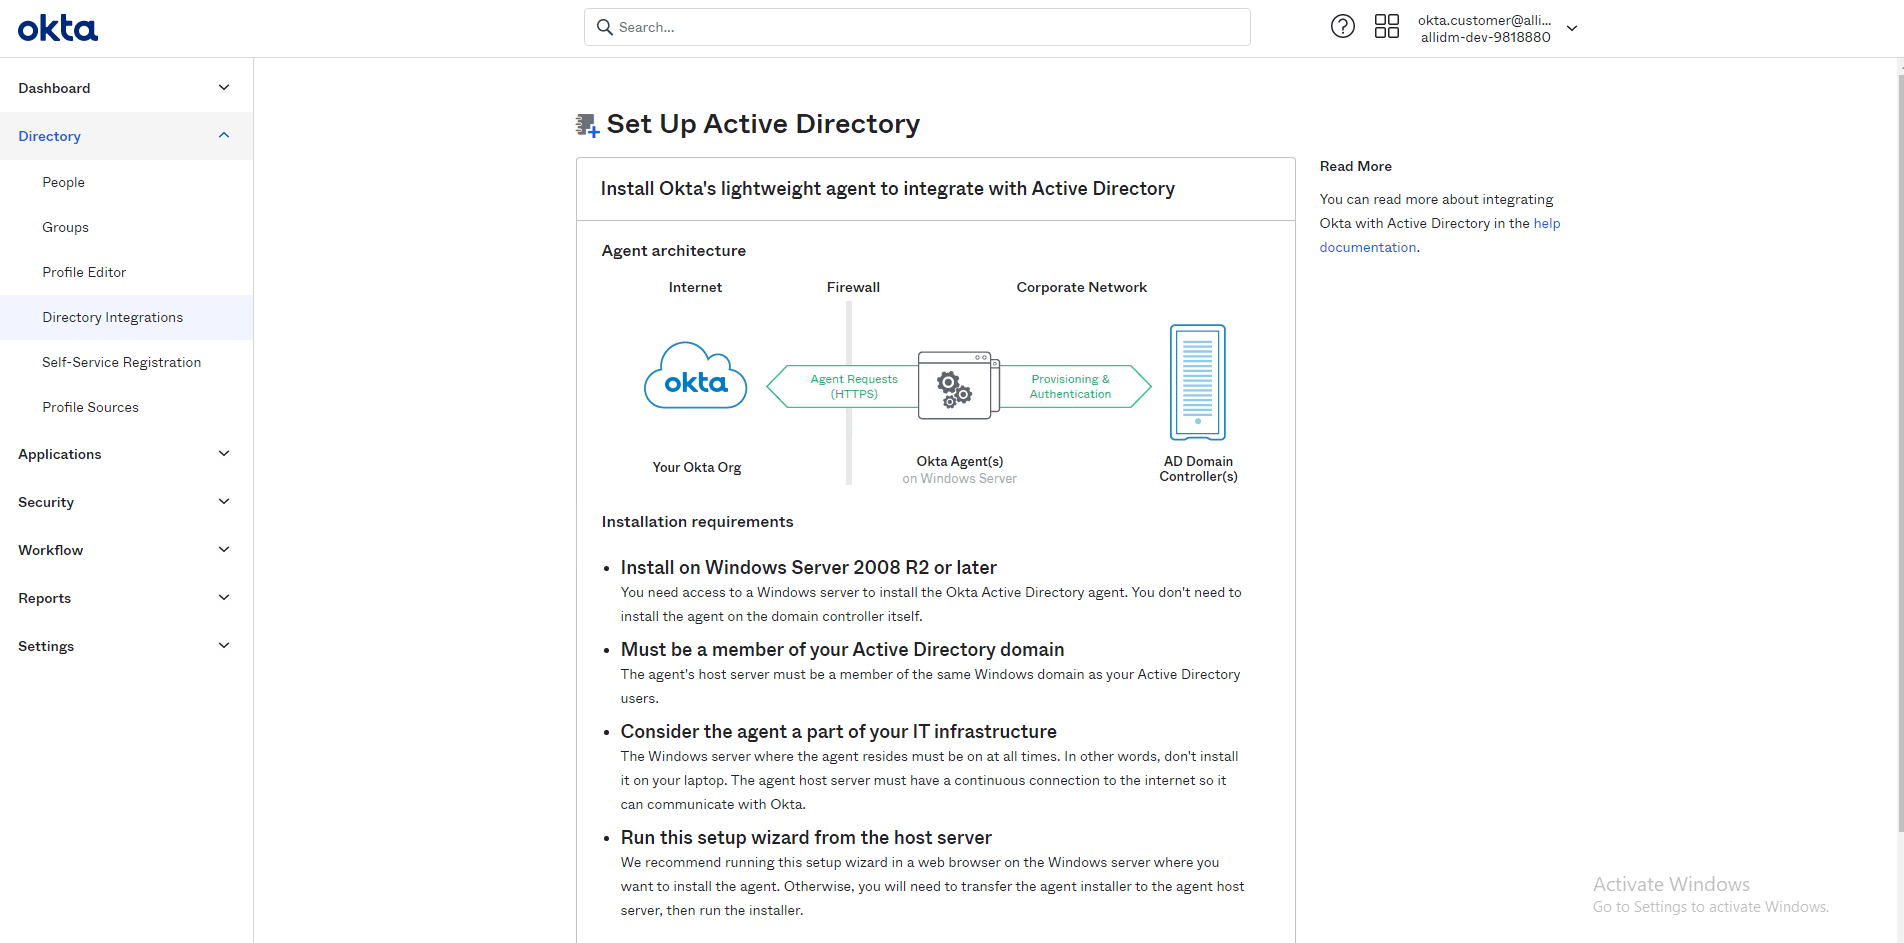
Following are the installation requirements:
- Install on Windows Server 2008 R2 or later
- Must be a member of your Active Directory domain
- Consider the agent a part of your IT infrastructure
- Run this setup wizard from the host server
As a prerequisite for you to try this lab in your own,you will need an Active Directory Instance and Okta trial tenant that you can get at https://www.okta.com/free-trial/
Let’s go a review the steps.
- Go to your Okta tenant and select the Directory Integrations on the left. From there click the Add Active Directory button in the middle.

2. The Setup Up Active Directory wizard opens.
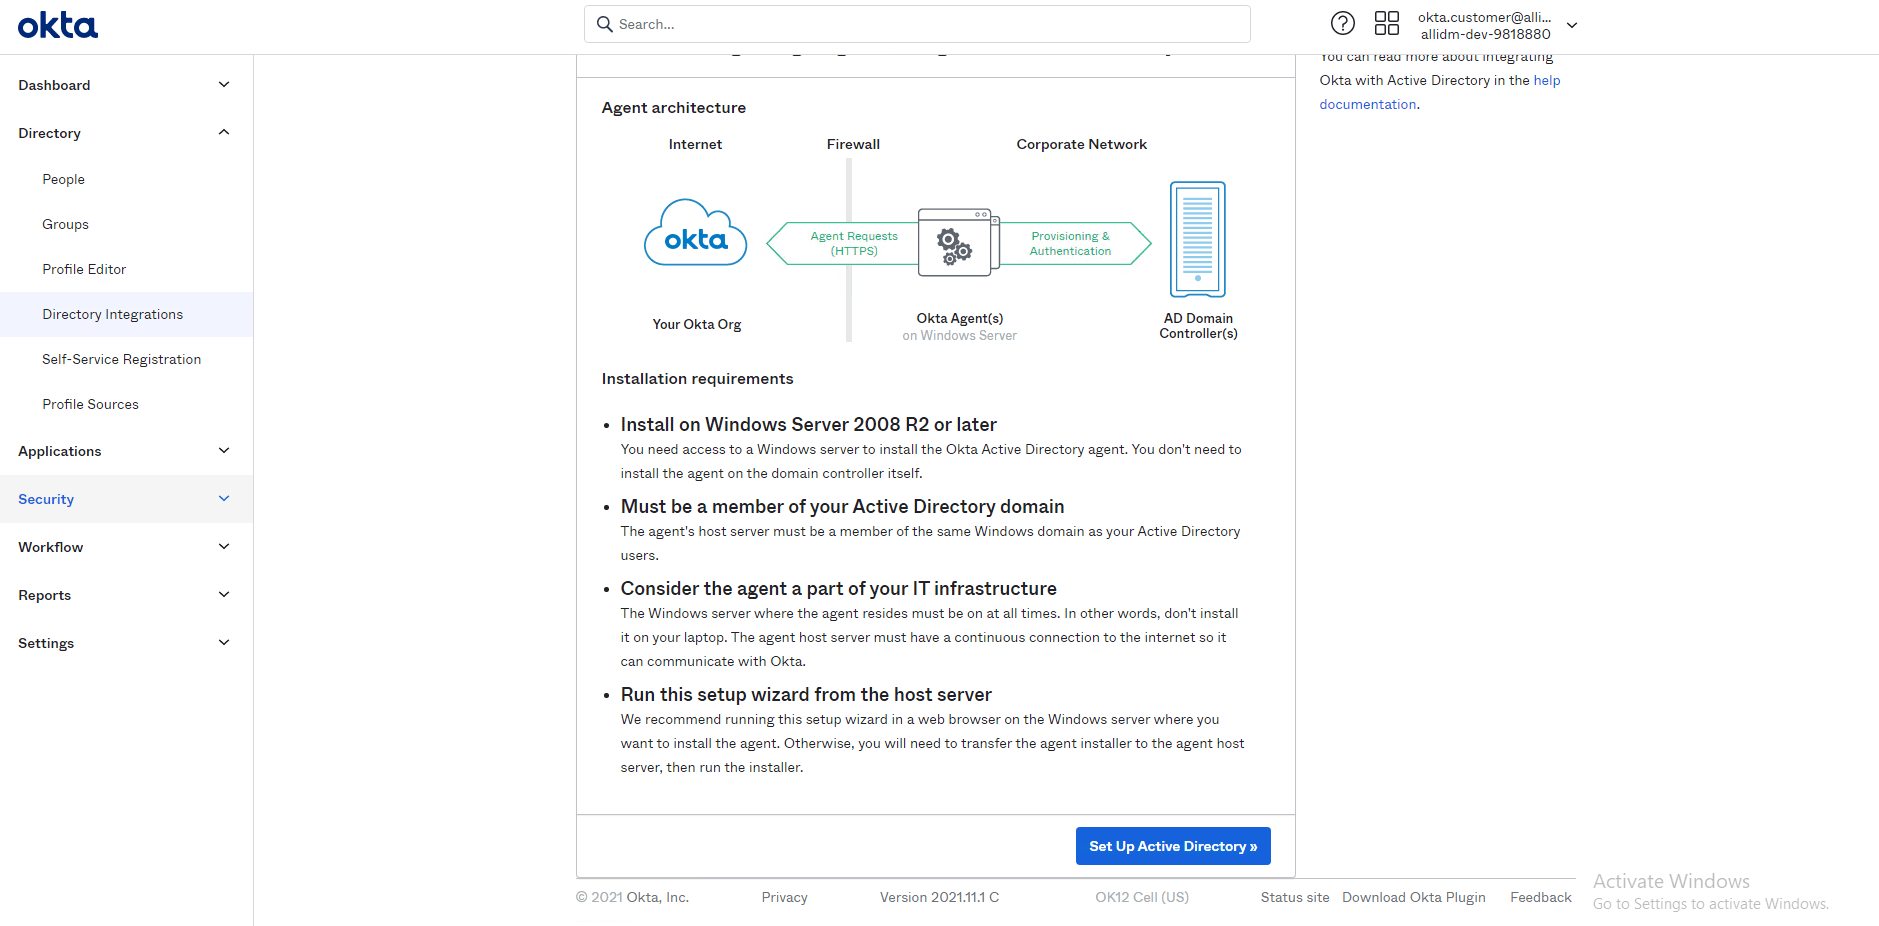
3. Scroll-down and click the bottom-right button Set Up Active Directory button
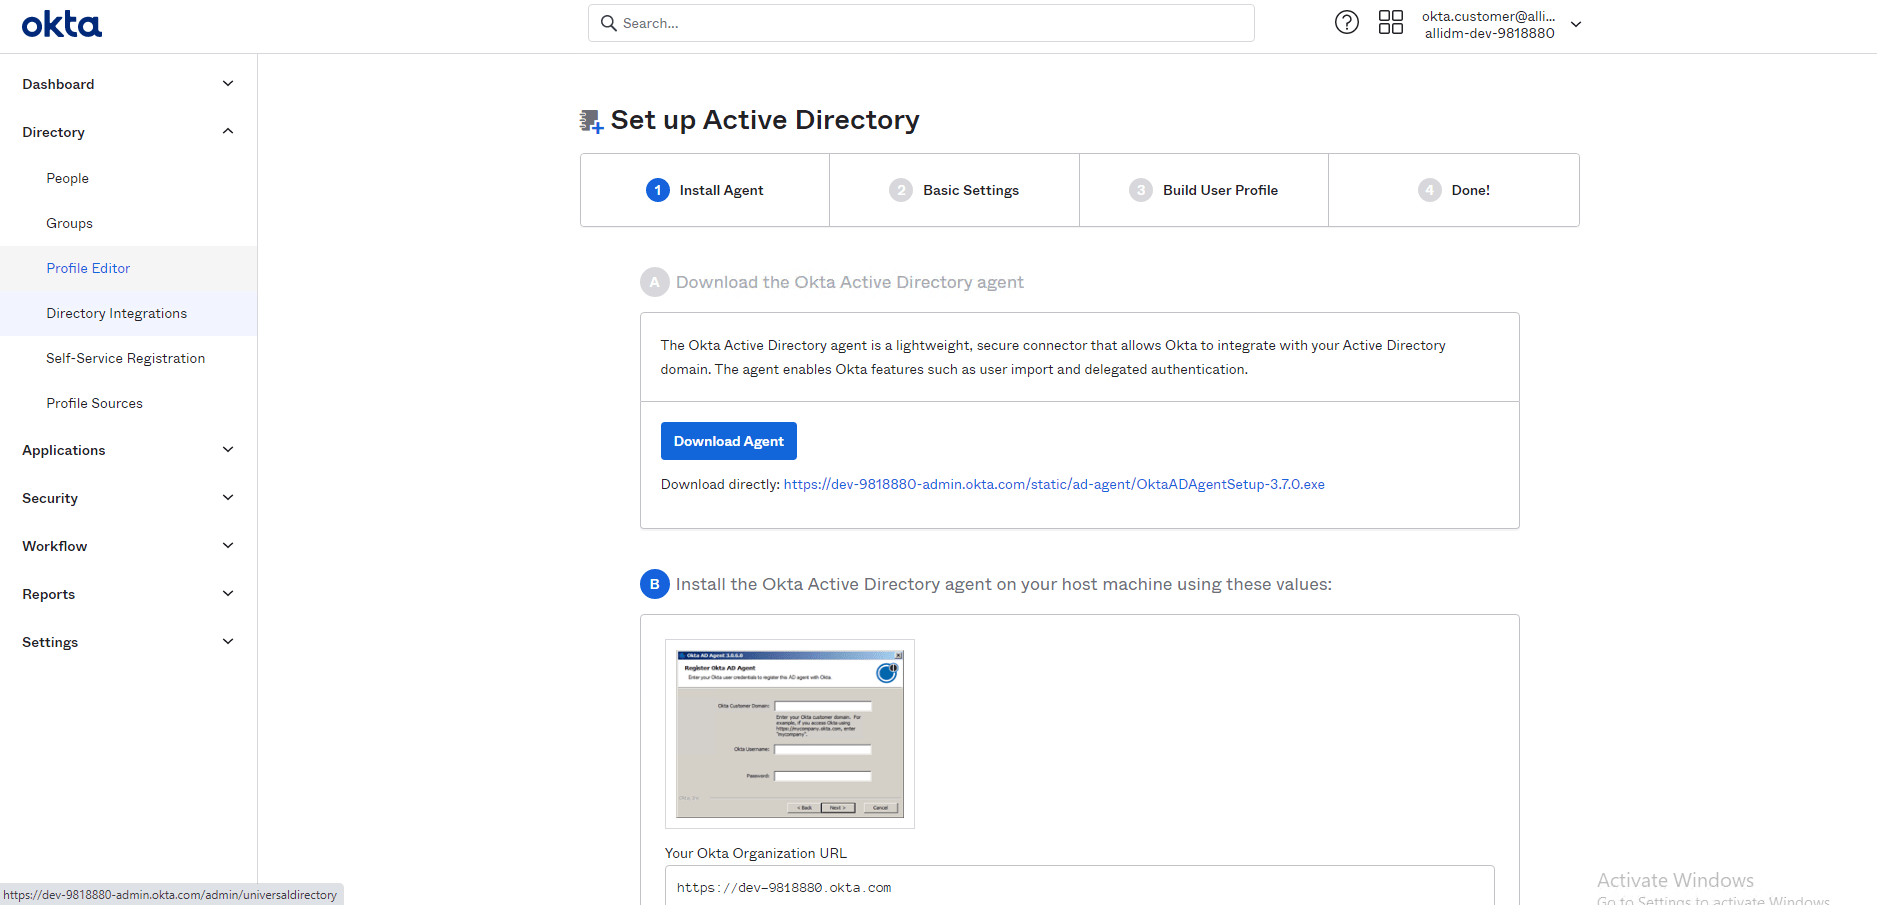
4. Now, in order to connect to your Active Directory, you will need to download the agent and install this in one of your servers. You will need to download the agent from the server where will be installed.
Remember, the Okta Active Directory agent is a lightweight, secure connector that allows Okta to integrate with your Active Directory domain. The agent enables Okta features such as user import and delegated authentication.

5. After you click the Download Agent, you will get the URL required to download. Remember to download this in the server where you are planning to install the agent.
6. Once the Agent installation is completed. Okta will detect the agent is started and ready to use. Click the Next button.

7. Okta agent reads the Active Directory structure and show you a tree windows where you can select the OU’s you want to sync Up to Okta.
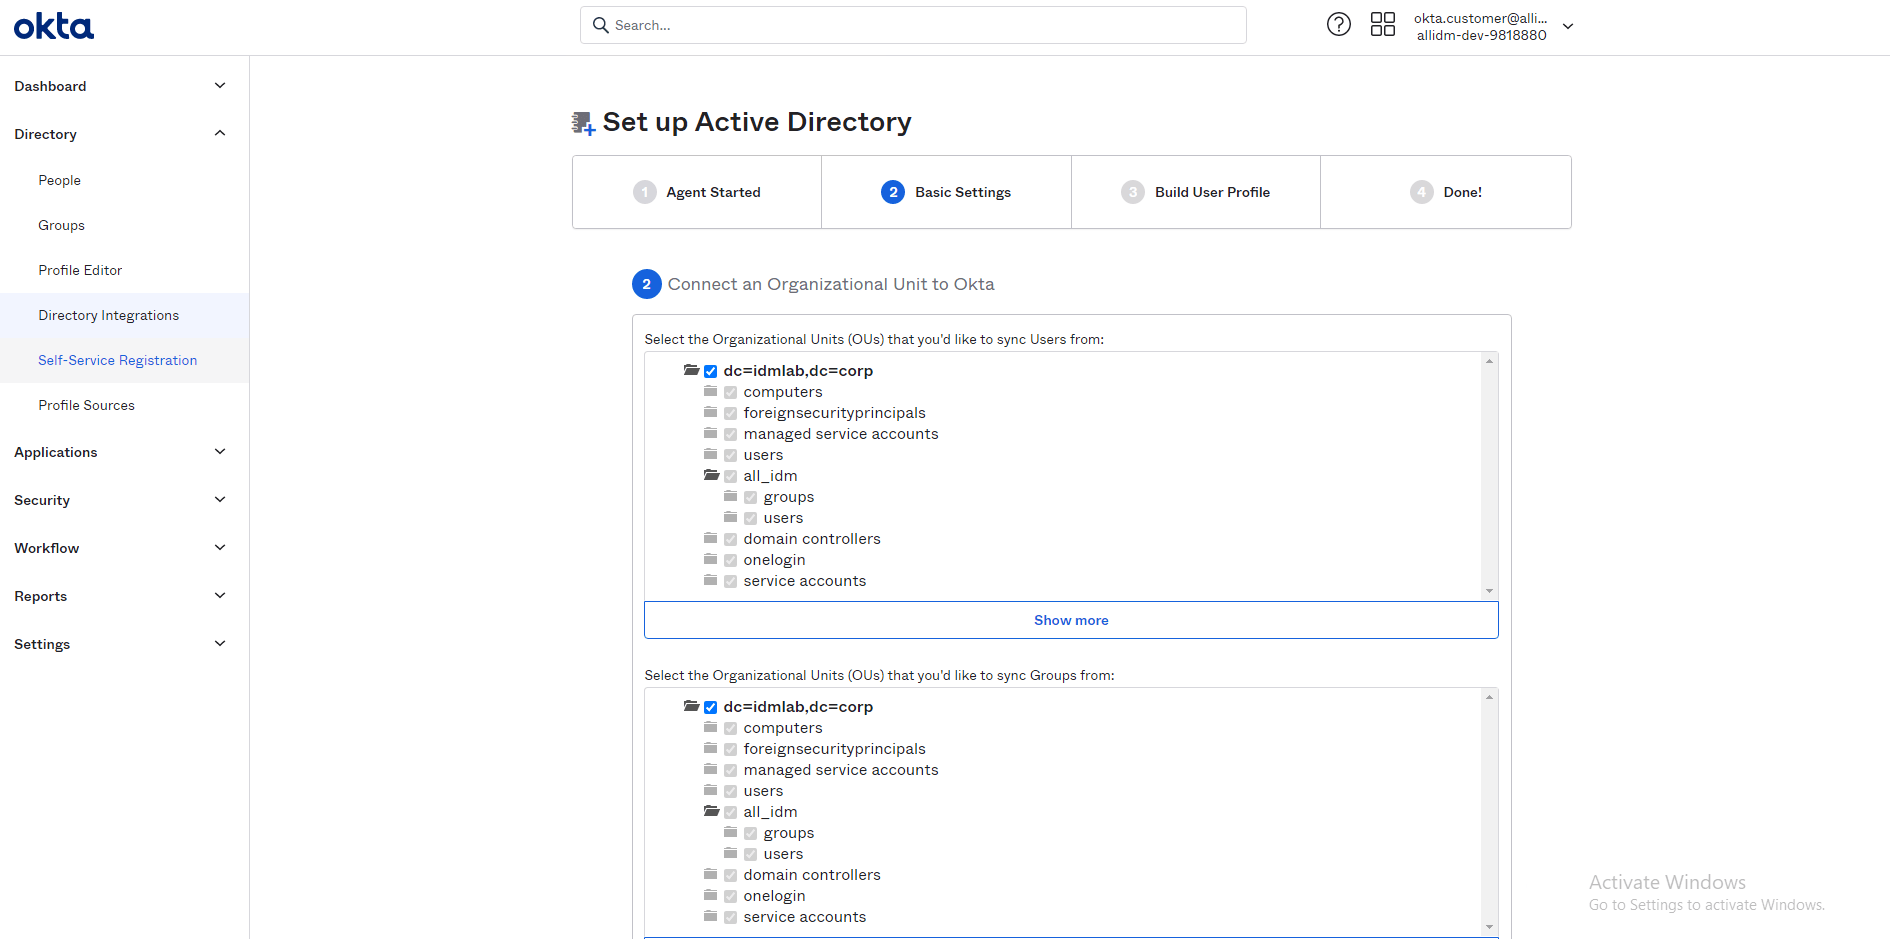
8. For this sample, we are selecting the all_idm OU that contains 1 OU for users and 1 OU for groups. For your organization the structure will be different what you see in the screenshots below. To continue this lab, Click the bottom-right Next button to continue.

9. Okta will display the list of active directory attributes available. For now just click Next.

10. At this point Okta Active directory initial setup is completed. Click the Done button.

The purpose on the previous post was to show you the steps required to execute the initial configuration of Okta with Active Directory. Your next step will be to perform the initial import for those users. We will cover the import users steps in future posts.
Gabriel Magarino
Gabriel Magarino – Senior Security Manager | IAM Evangelist - Experienced leader with over 20 years in the IT and cybersecurity industry, specializing in Identity & Access Management. Expert in Okta, One Identity, SailPoint (IdentityIQ & IdentityNow), OneLogin, Delinea, and CyberArk. Passionate about exploring IAM and emerging technologies, coaching, and training IAM teams. Holds a Master’s in Computer Science and multiple certifications, including Okta Professional & Administration, One Identity Architect & Instructor, SailPoint Identity Now, ITIL, Scrum Master, among others. Currently pursuing a PhD with a focus on Computer Science and Artificial Intelligence.