The purpose of this article is to provide information about how to run an initial import from Active Directory into Okta after the Active Directory connector has been configured.
- Go to the Okta Tenant and select Directory Integrations. From the Directory Integrations screen click the Active Directory configured.

2. Okta will present the configuration screen for the Active Directory domain selected. Click the Import tab.

3. On the Screen, click the top-right Import Now button to start the Active Directory import for users & groups.

4. Okta will present the Import from Active Directory window. You can select incremental or Full import. Once you select the option, click Import button.

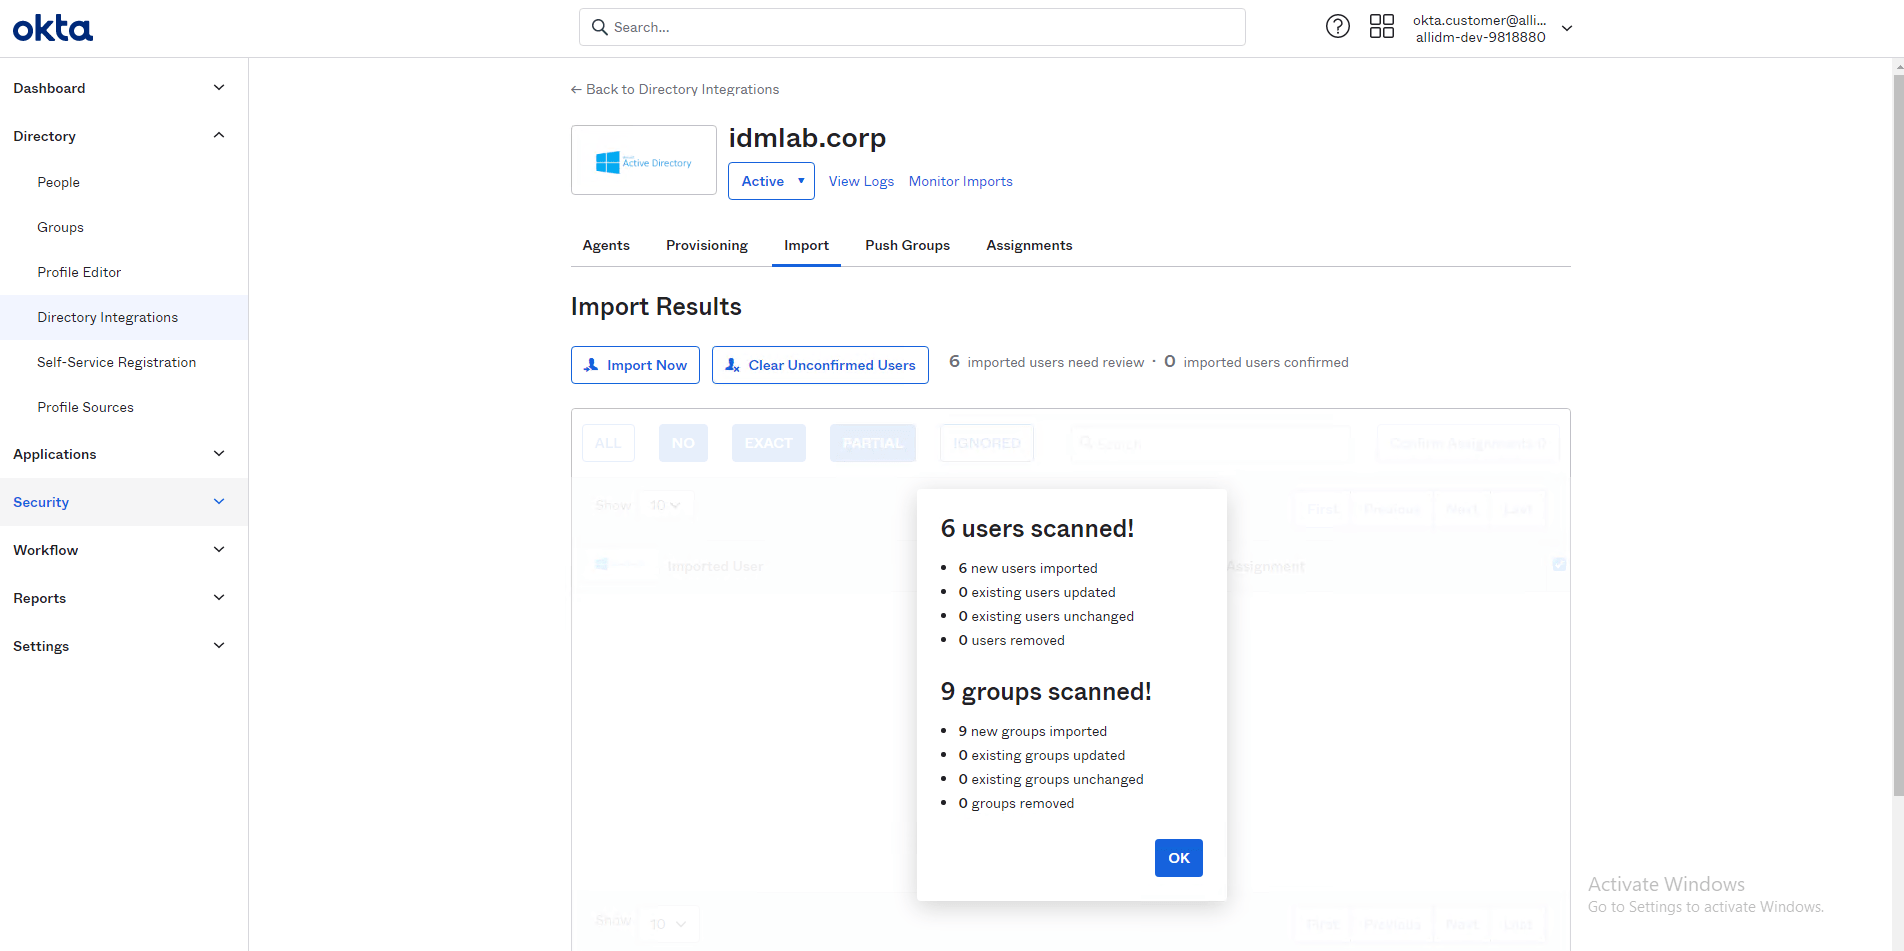
5. Based in the initial configuration for the Active Directory, the Okta AD connector will pull the users & groups for the configured container.Okta presents the total users & groups scanned. Click Ok button to continue.
6. Okta presents the imported users and displays if there are matches found with existing Okta users.
