Okta tenant allows you to include custom Active Directory attributes, those are usually extended in the organization schema due a particular requirement for an application or to support additional attributes not available in AD.
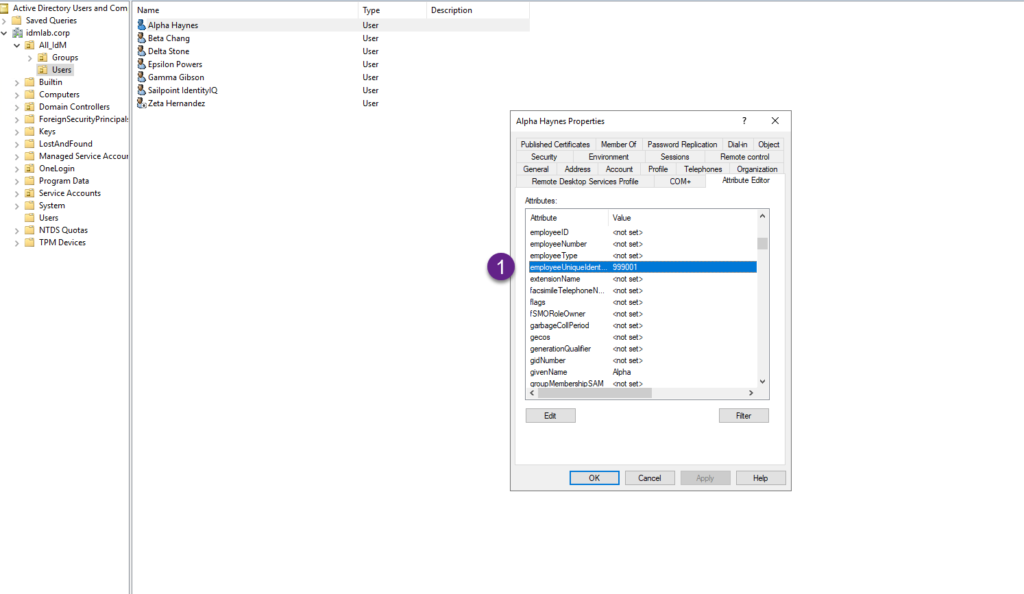
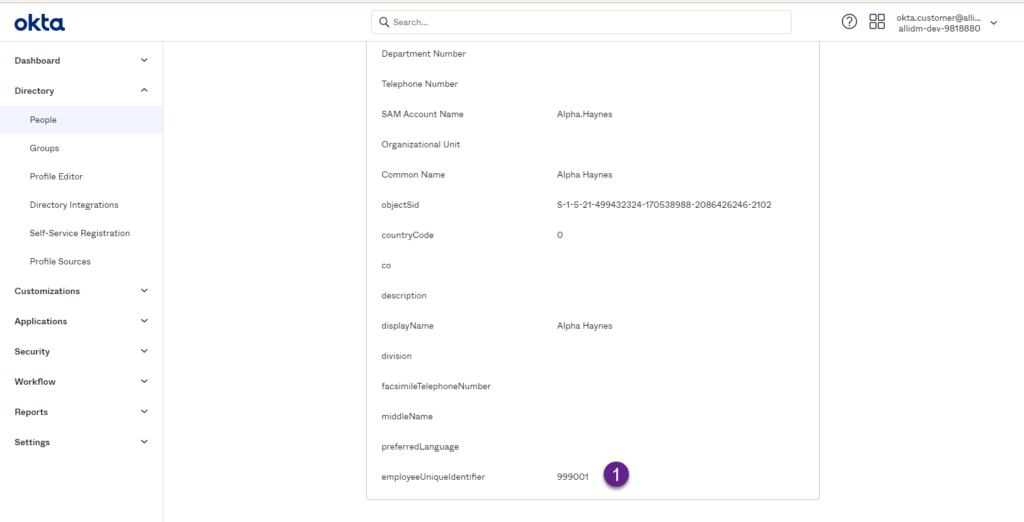
This post will show you how to map a custom AD attribute in a Okta tenant. For this post we will use the employeeUniqueIdentifier attribute. Below screen shows how the value is populated for 1 AD user. We will configure the Okta mapping and sync with AD to bring this value into the Okta tenant.
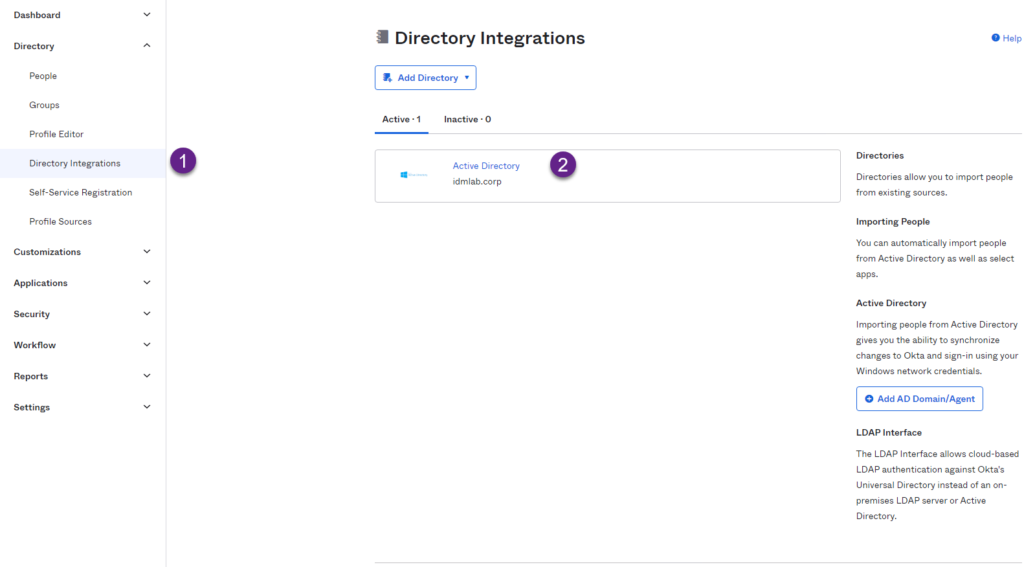
- Go to Directory Integrations and click the Active Directory instance.
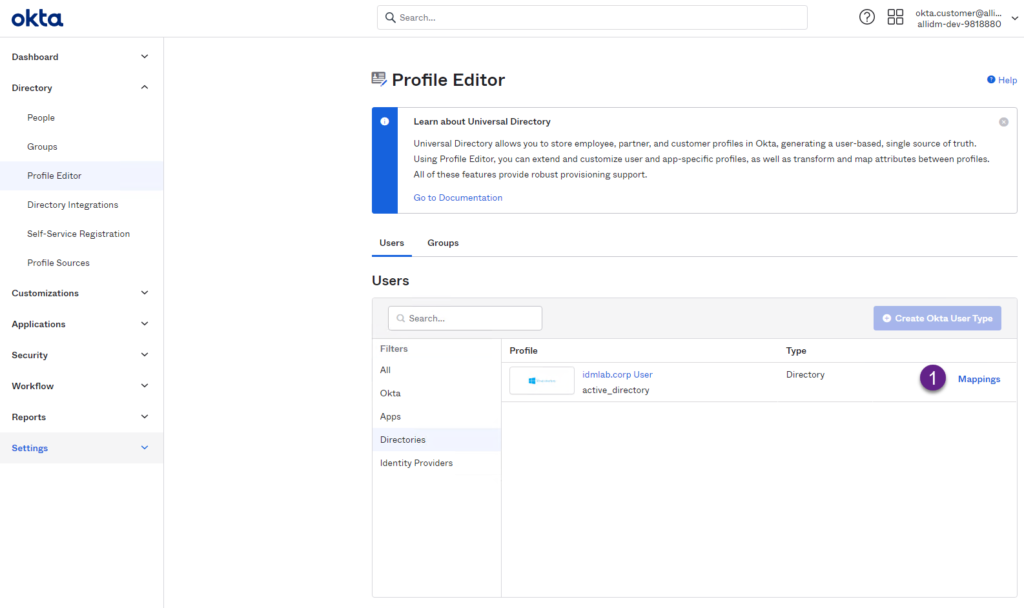
2. In the Profile Editor page, click the Mappings link in the left side.
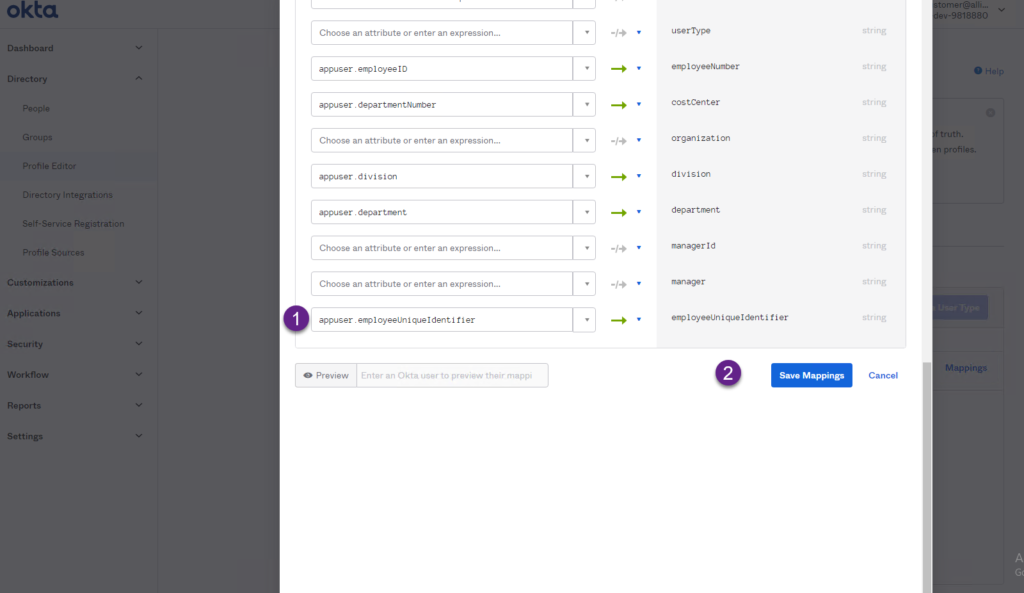
3. Scroll-down and start the mapping for the employeeUniqueIdentifier. Remember that a custom Okta attribute was added before to store the employeeUniqueIdentifier. Click the Save Mappings button.
4. Due structural changes on the configuration, now you need to apply those changes to the current Okta AD deployment. Click the Apply updatas now button.
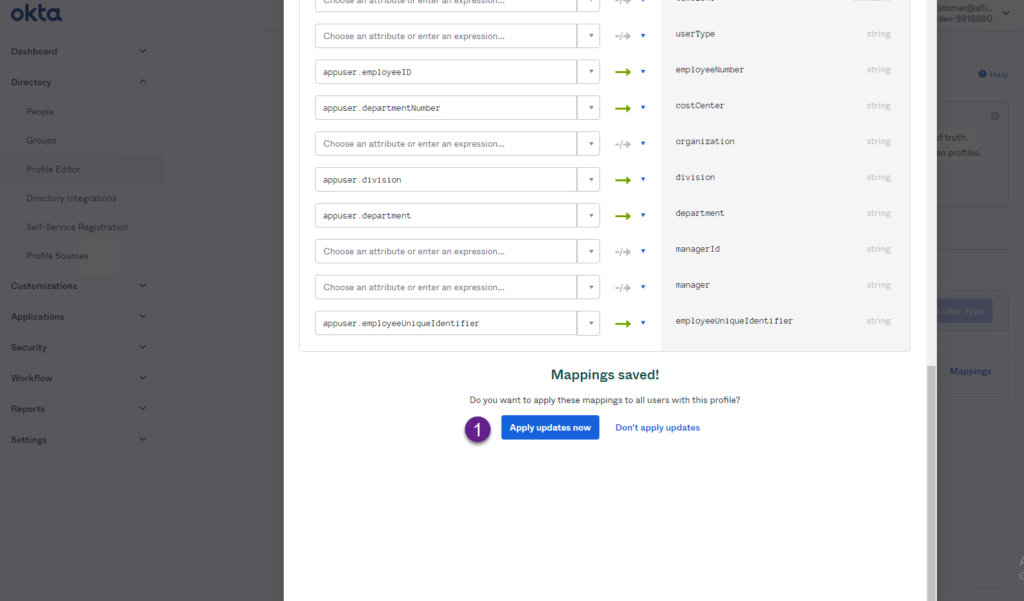
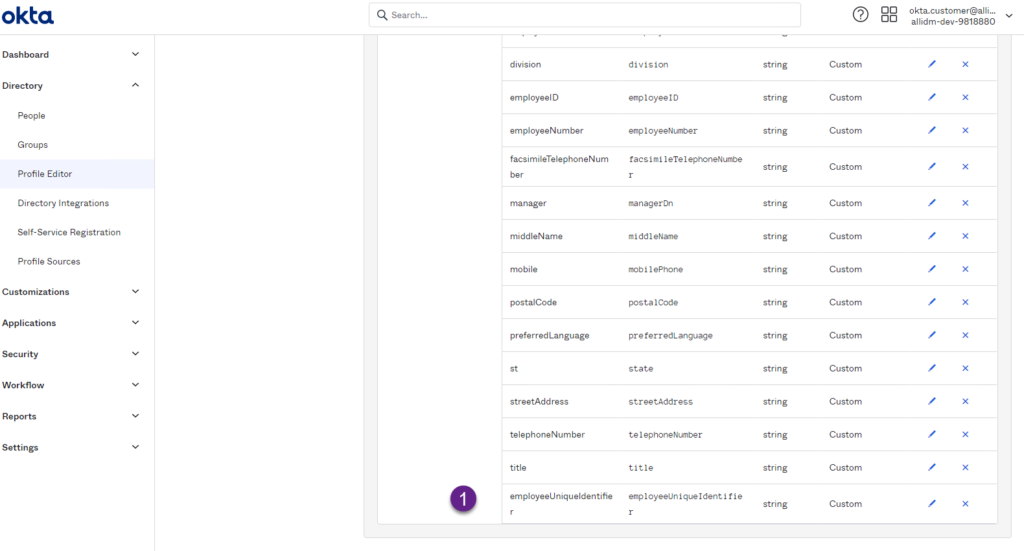
5. After changes have been saved, the employeeUniqueIdentifier is now mapped to a custom attribute in your Okta tenant.
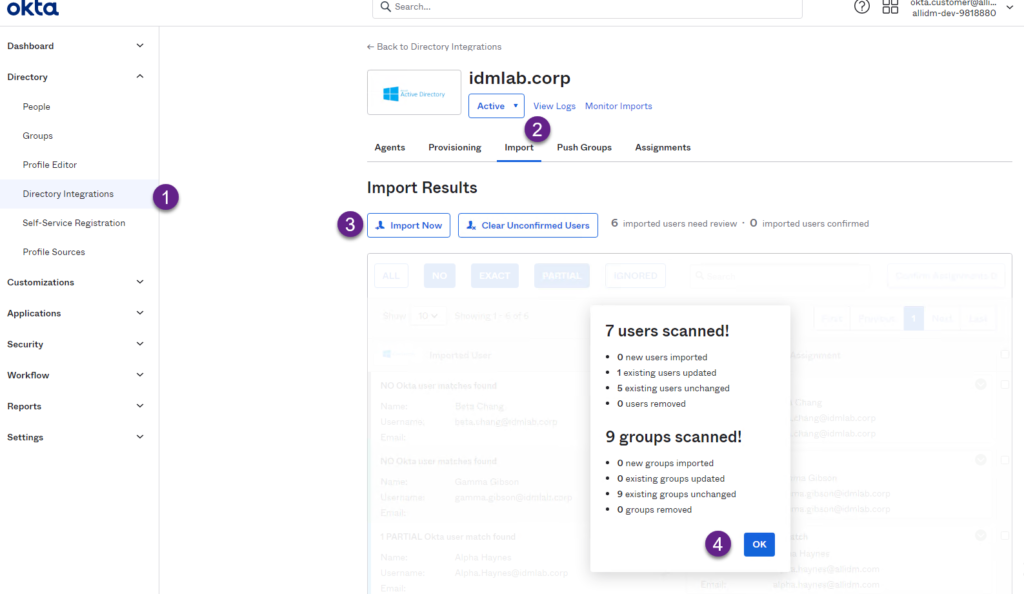
6. Click the Directory Integration and select your AD instance. From there go to the Import tab and select the Import Now button. This process will start pulling all AD users and update them with the new employeeUniqueIdentifier attribute value being populated.
7. Now verify the employeeUniqueIdentifier was mapped for an existing user. Go to Directory > People and search for any of the existing users in your AD.
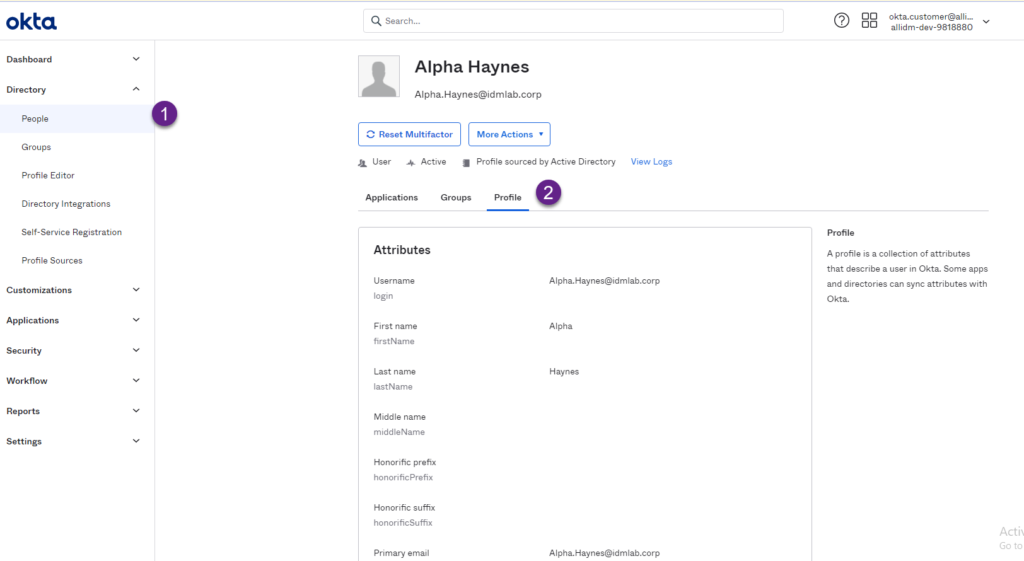
8. Scroll-down and you will see the employeeUniqueIdentifier now being populated with their corresponding value coming from AD.
Keep visiting us for more quick reviews for Okta.
