The new One Identity Manager version 8.2 incorporates a new mail configuration wizard.
An email configuration wizard is provided to configure email functionality in the OneIdentity Manager. The wizard can be run in the Launchpad and in the Designer’s Configuration Parameter Editor.
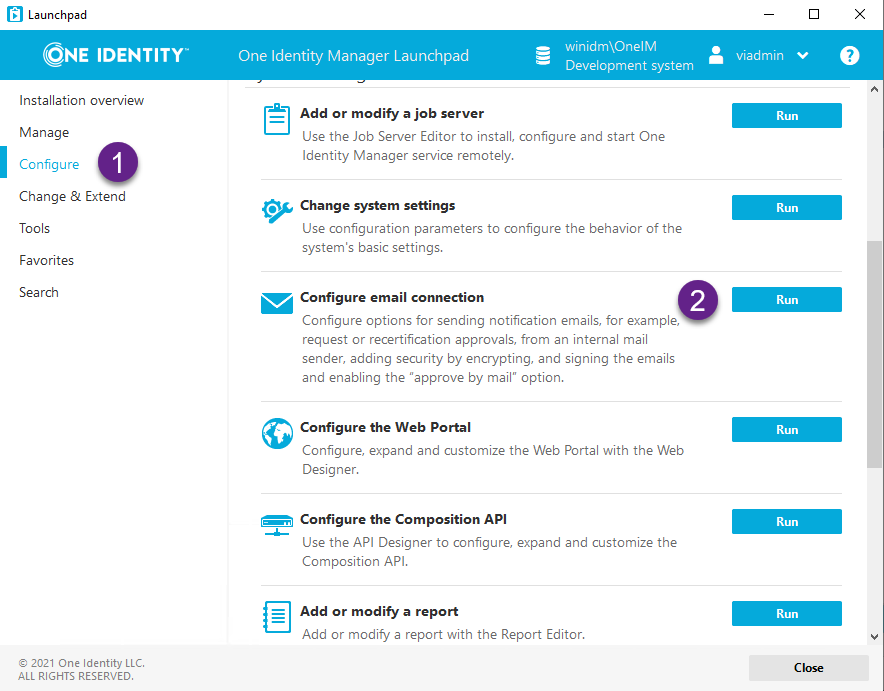
- Start the Launchpad and click the Configure email connection.
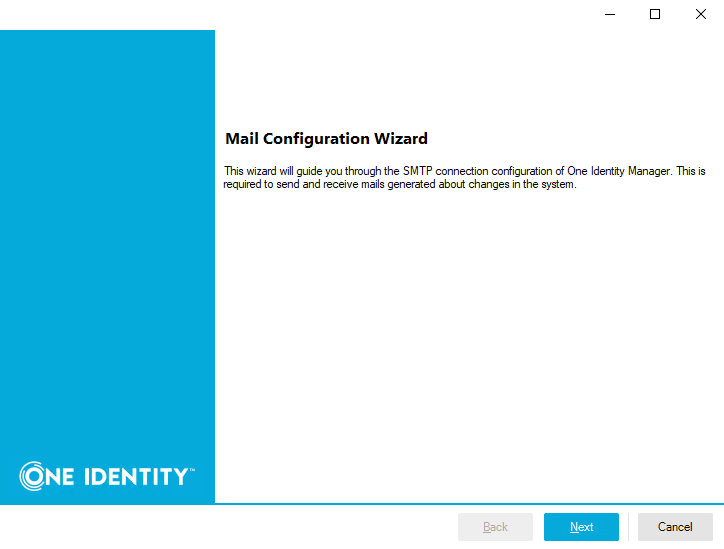
2. One Identity start the Mail Configuration Wizard.
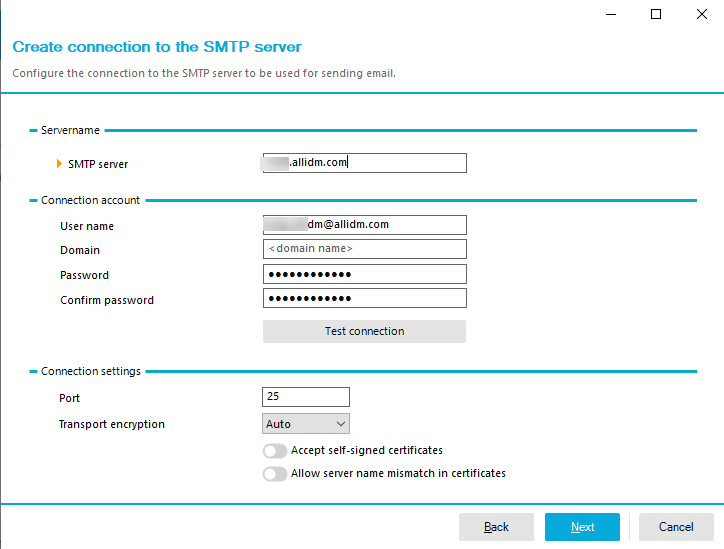
3. Add the SMTP and other parameters values required for the screen. Once completed click the Test Connection button.
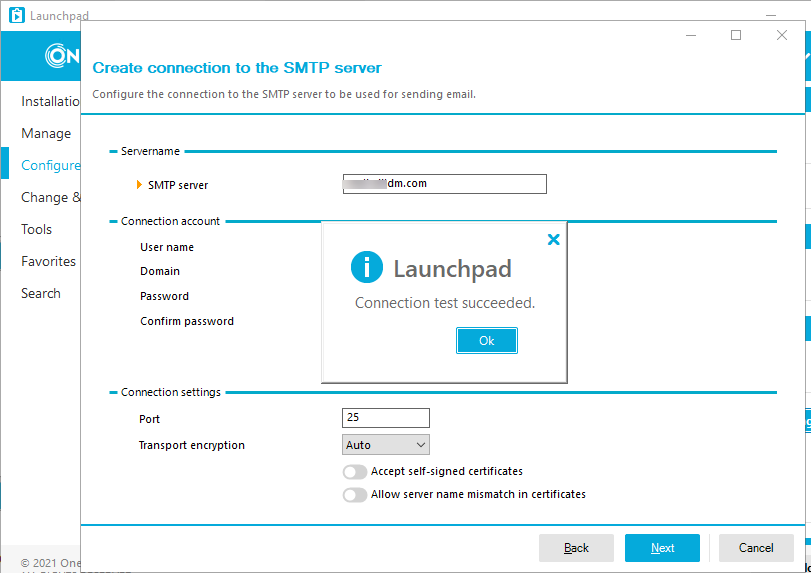
4. If all parameters values are correct, One Identity returns a connection test succeed message. Click Next button.
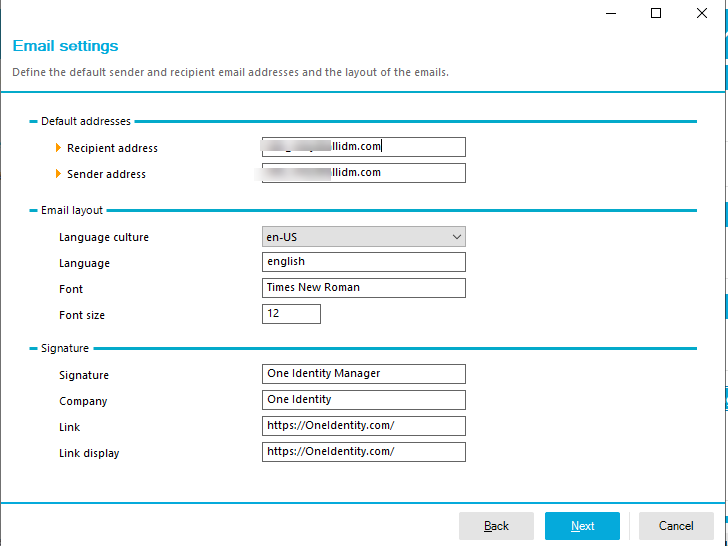
5. Now you can complete the general settings for the email like the default addresses, email layout and signature. Click Next button when you are done.
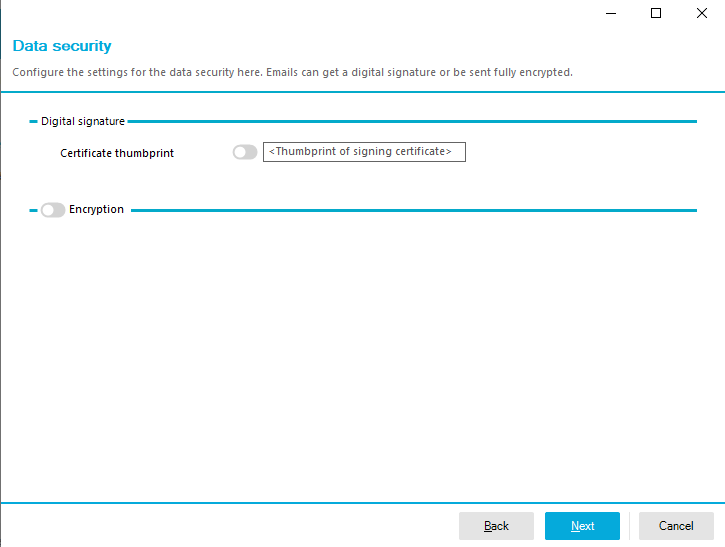
6. Now you can complete the Data Security section.
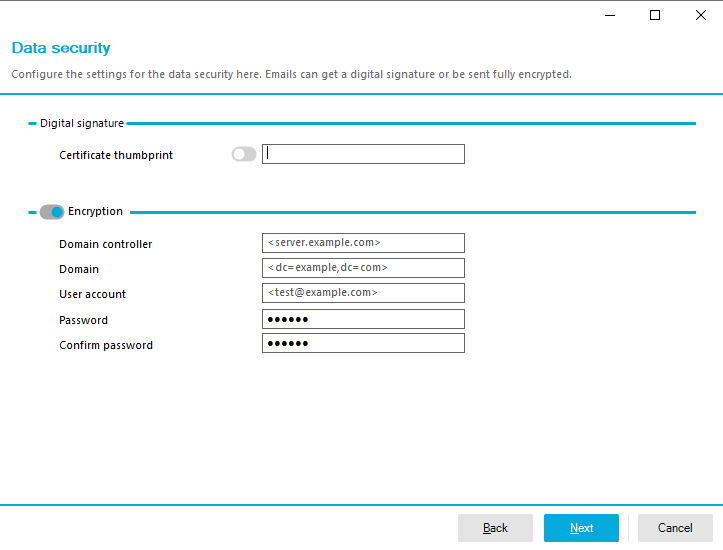
Use the Encryption section to add more security to your mail settings. Click Next button when you are done.
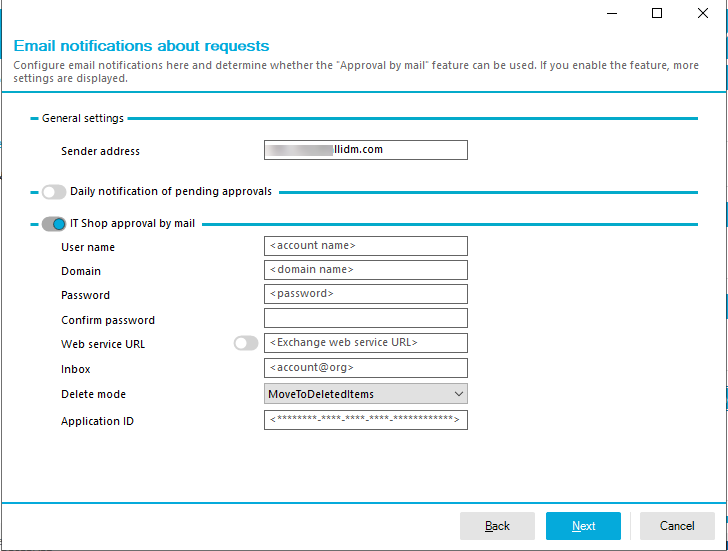
7. Now you complete the setting for the Request portal (IT Shop). In this section IT Shop approval by mail can be setup. Click Next button when you are done.
8. Now you can configure the Attestation email settings. Click Next button when you are done.
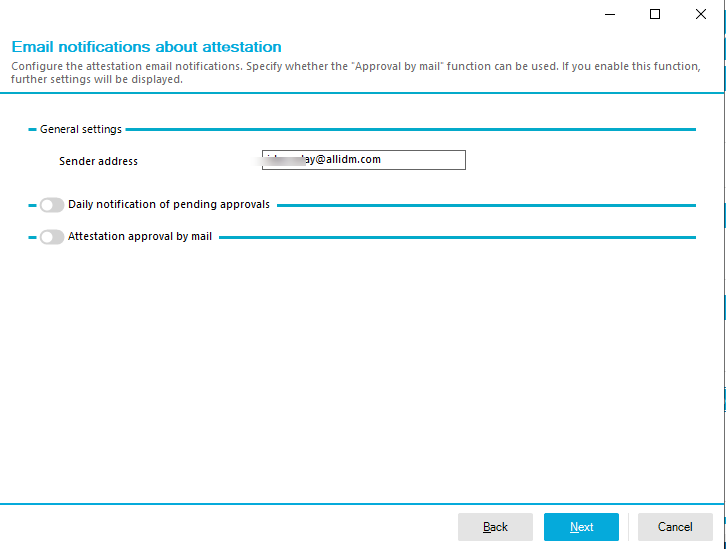
9. Now, you configure the Report Subscriptions email settings. Click Next button when you are done.
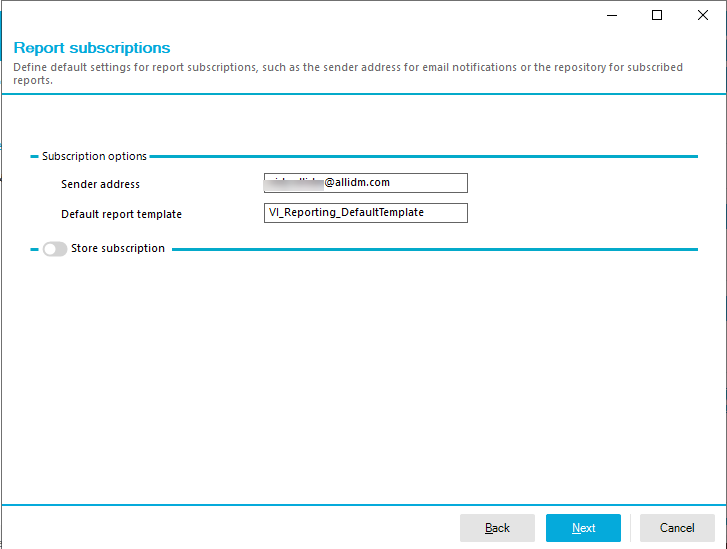
10. Finally, configure the mail notifications for each target systems to be implemented in your deployment. Click Next button when you are done.
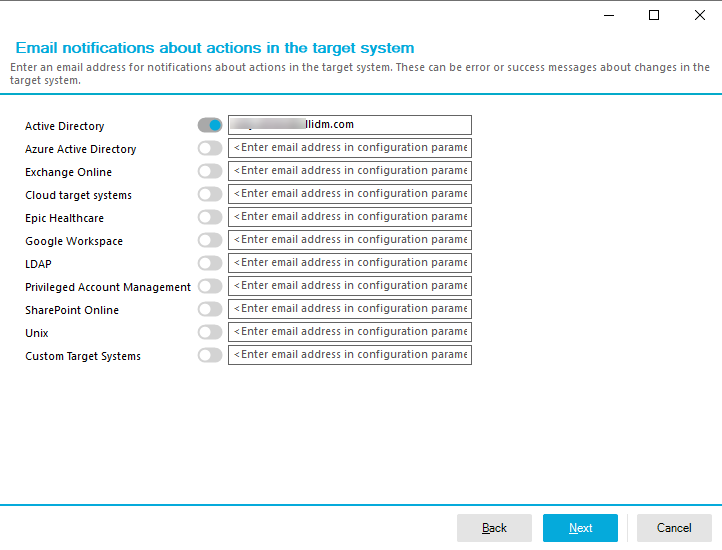
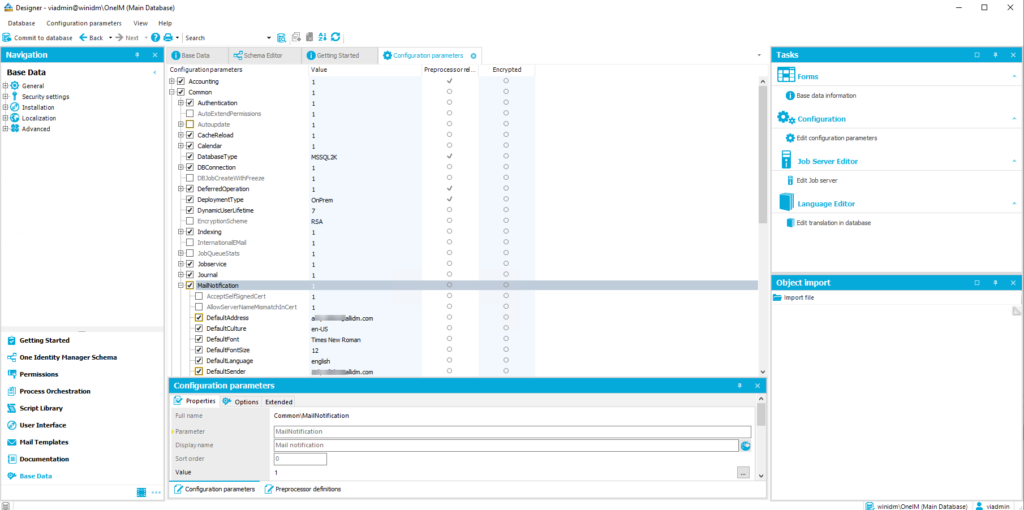
One complete, the wizard commit the changes to the One Identity Manager database and your settings are ready to be used. All the settings are being stored in the configuration settings within the product. You can check them in the Designer Tool > Base Data > Configuration Parameters > Common\MailNotification.
Learn more about One Identity Manager – https://support.oneidentity.com/identity-manager/8.2/technical-documents
Keep visiting us for more quick reviews related to One Identity Manager.
