One Identity Manager provides a web portal that can be configured to switch to maintenance mode. Below the steps necessary to enable that features.
When the One Identity Manager web portal is on maintenance mode, no new sessions are permitted. Current sessions are not affected.
- Go to the web portal, and point to the following URL https://servername/IdentityManager/Monitor.You will be prompt to introduce the credentials for authentication. To Access to the runtime monitor setup the configuration file (monitor.config) of the web application. The default settings enables only members of the BUILTIN\Administrators
2. Introduce your username/password for an administrator & the OneIM monitor page will be displayed.
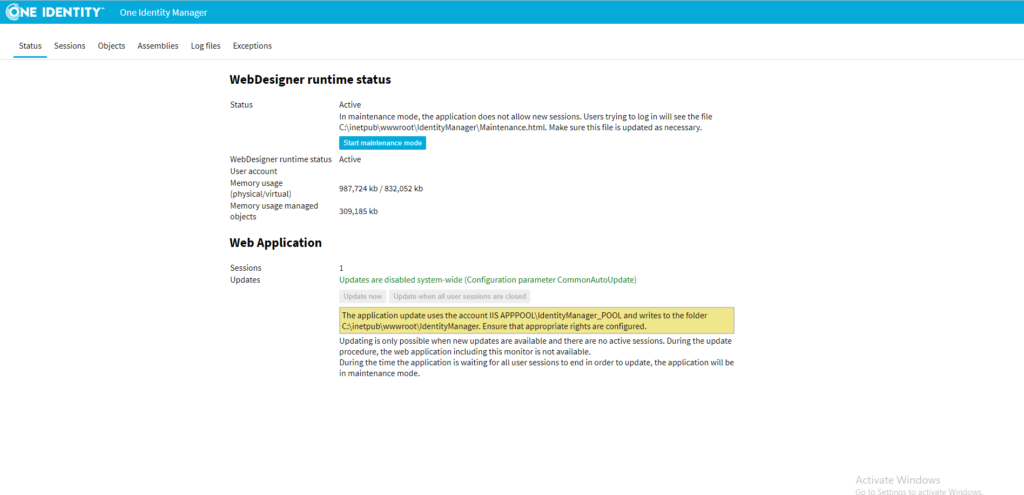
3. If you want to see the current users connected to the OneIM web portal,click in the Sessions navigation tab. This page will list the users live sessions.
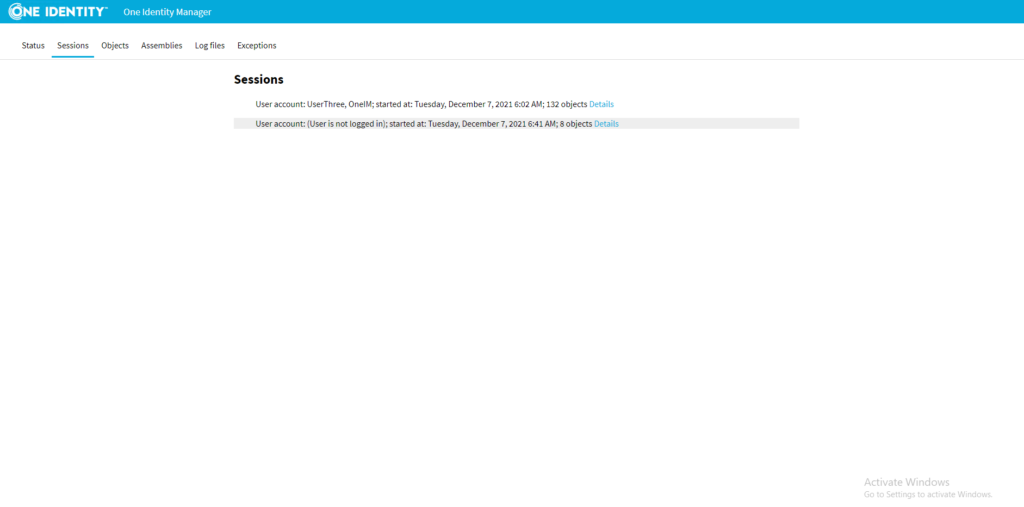
4. To enable the maintenance mode, click the Sart maintenance mode button.
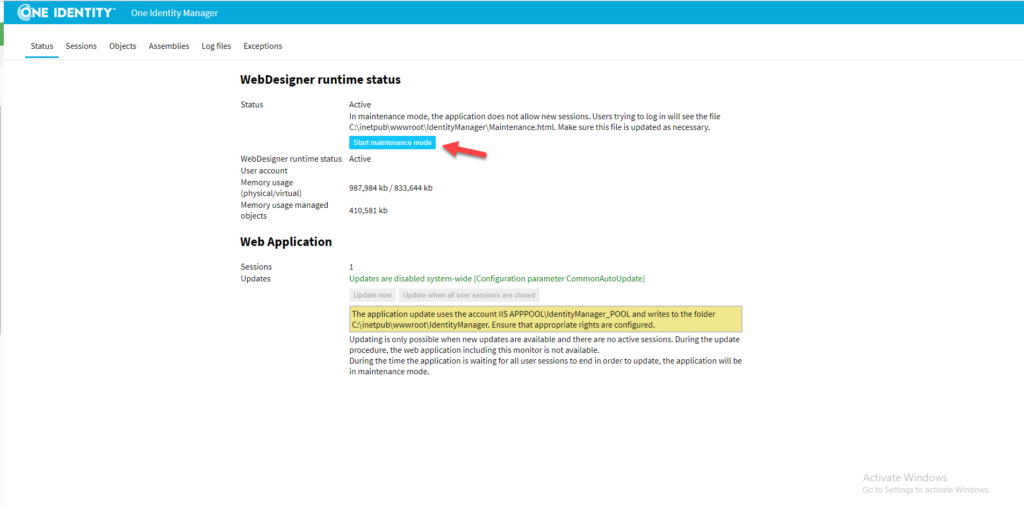
5. Now , due the OneIM maintenance mode is active, if any user in the organization tries to access the portal, they will see the maintenance web page. You can customize the content modifying the Maintenance.html file, which is located in the installation directory of the web application.
6. To disable the OneIM web portal maintenance mode, click again in the End maintenance mode button.
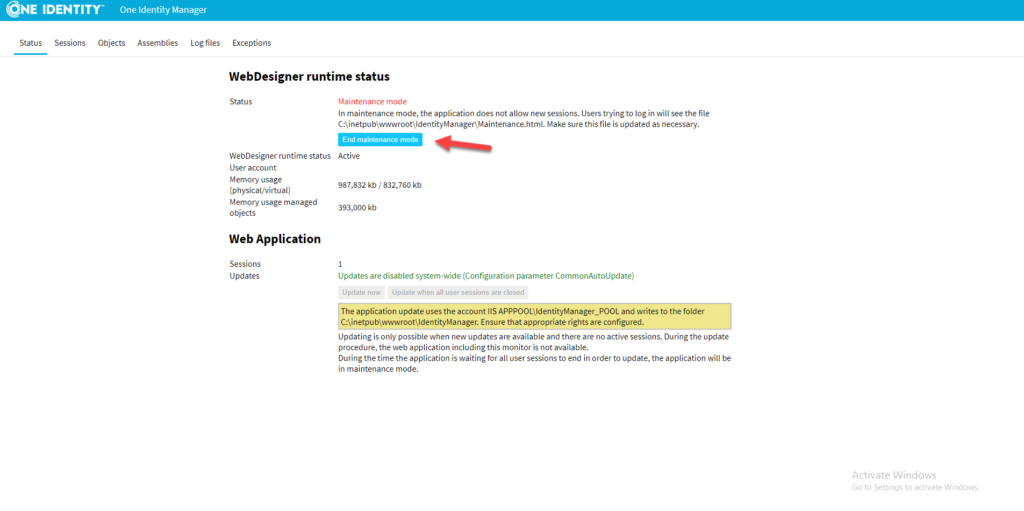
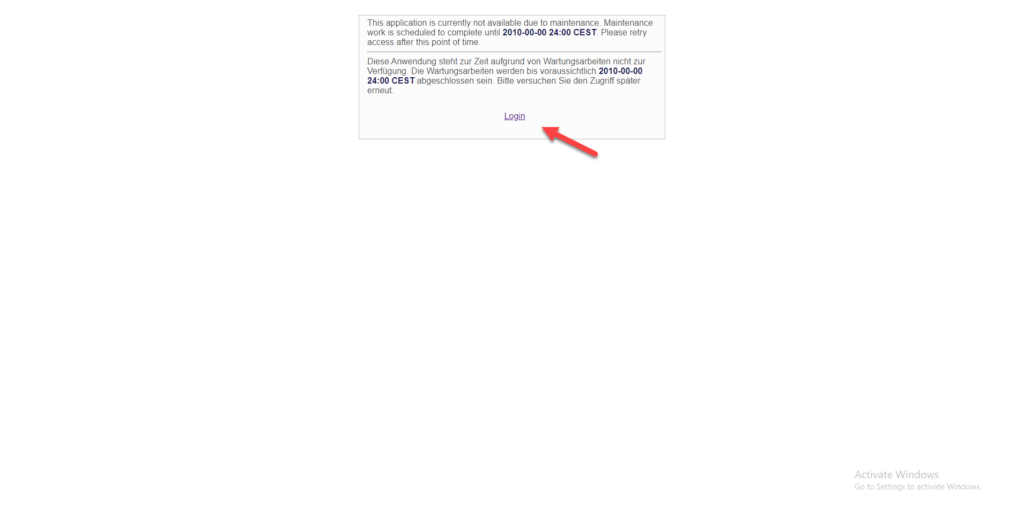
7.Now all users can click in the Login link and they will be redirected to the OneIM portal.

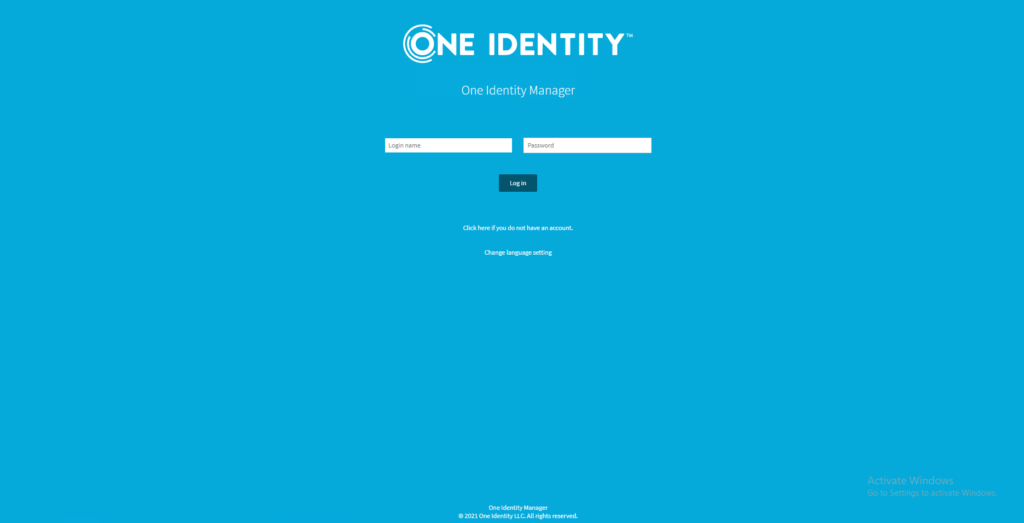
8. Once the OneIM portal is back to normal, the end-users will be able to see the web portal login page.

Maintenance mode can also be activated by creating the file App_Data\Maintenance.mode in the installation directory of the web application, and deactivated by deleting this file.
Keep visiting us for quick One Identity Manager reviews.
