Sailpoint IdentityIQ – Active Directory Account Aggregation
Once your Active Directory connector is configured in Sailpoint IdentityIQ, the next step is to start the account aggregation. This action is performed creating a Task.
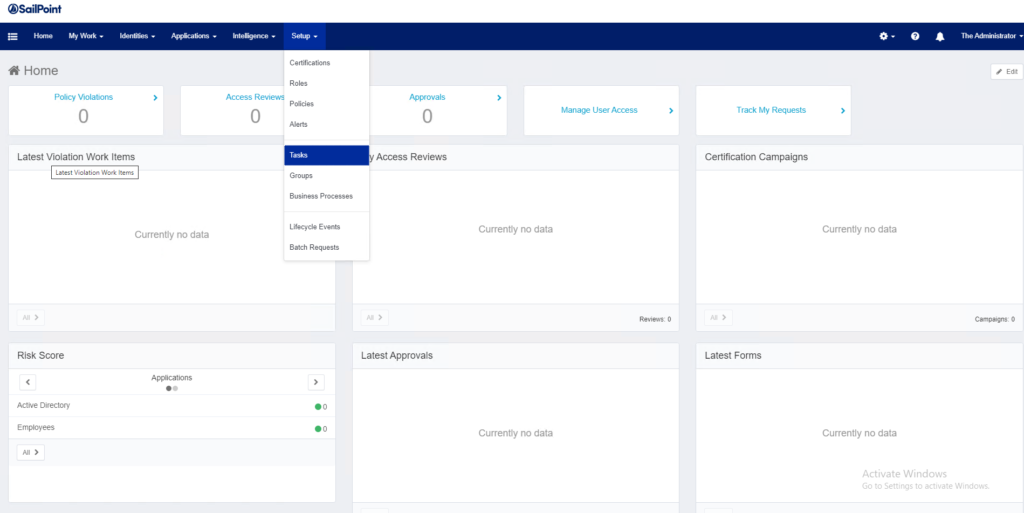
1.Go to the Setup > Task menu.
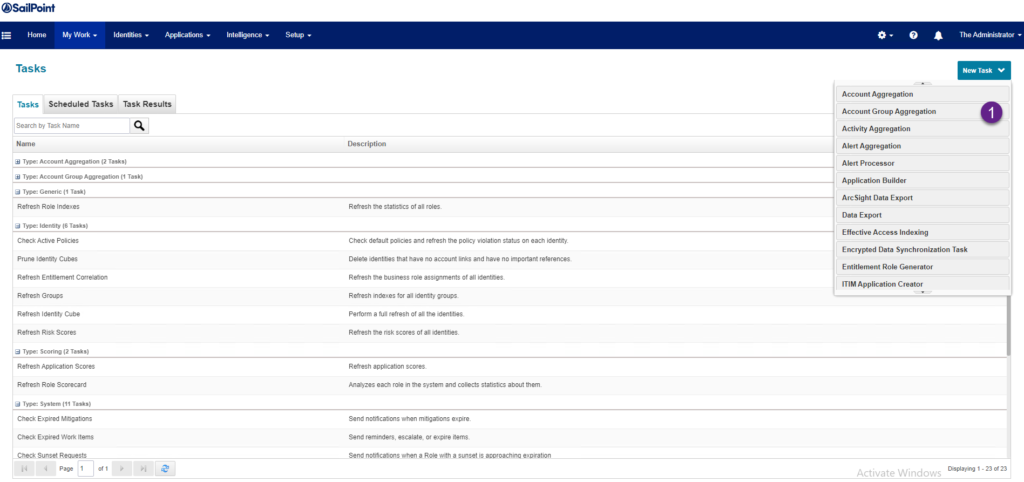
2. Top right select Account Aggregation
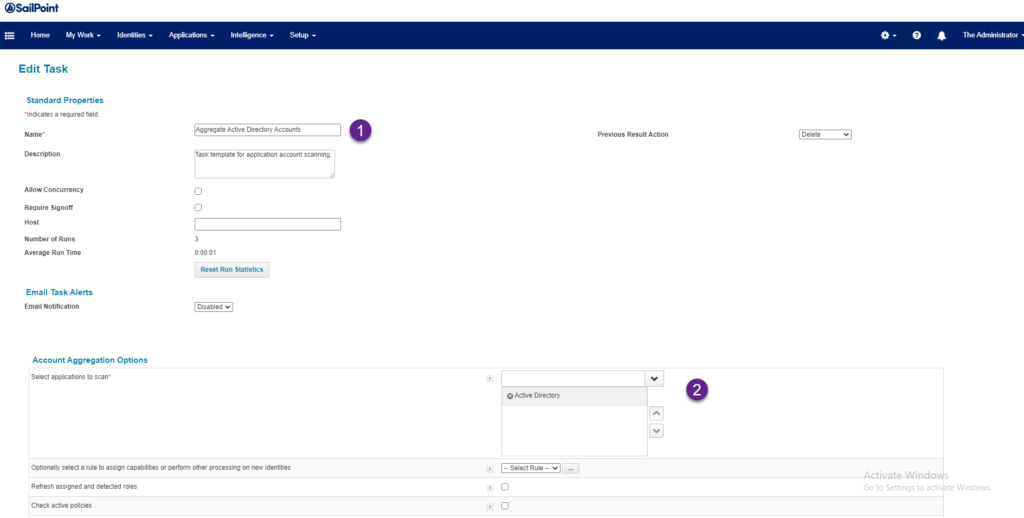
3. Now int the name section, write down a name for the Aggregation, Select Active Directory in the application to scan section.
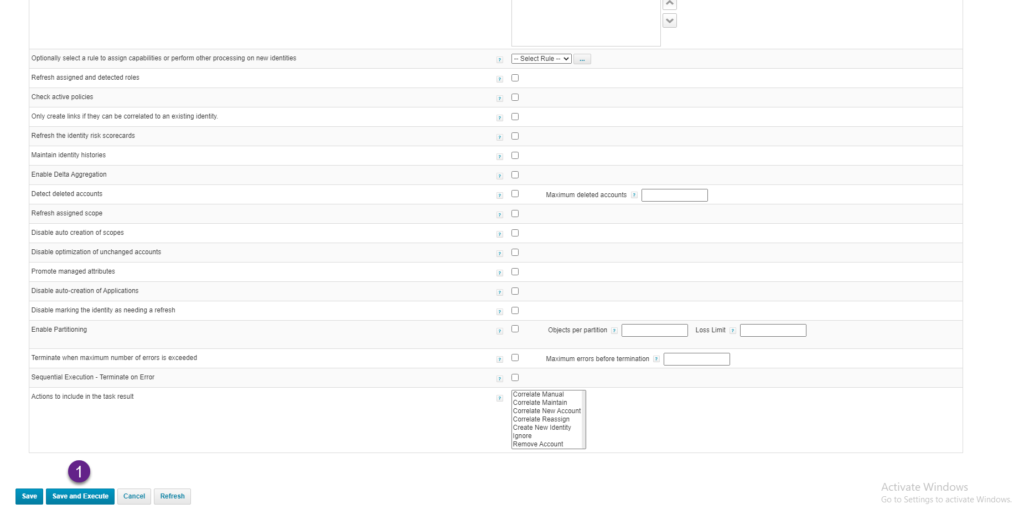
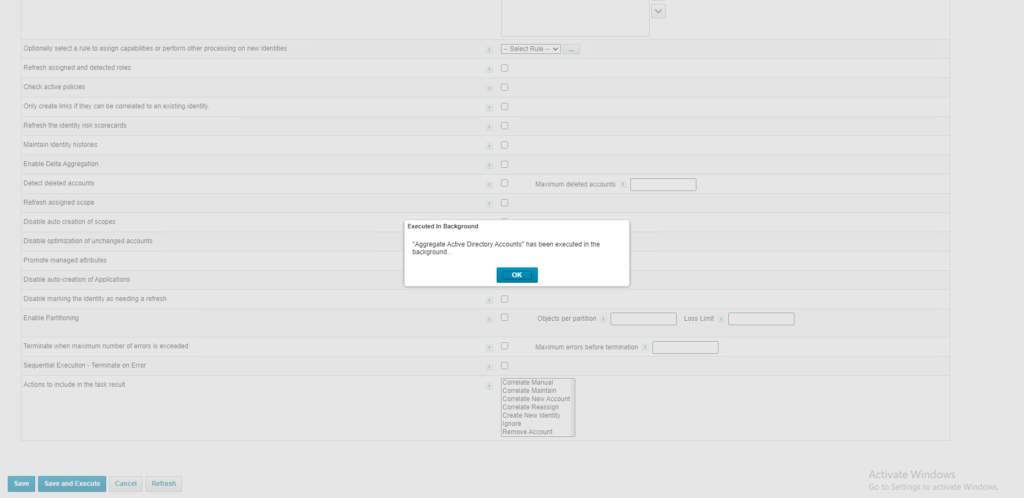
4. Scrolldown and click the Save and Execute button.
5. Identity displays a message indicating the task is executed in the background. Click OK button.
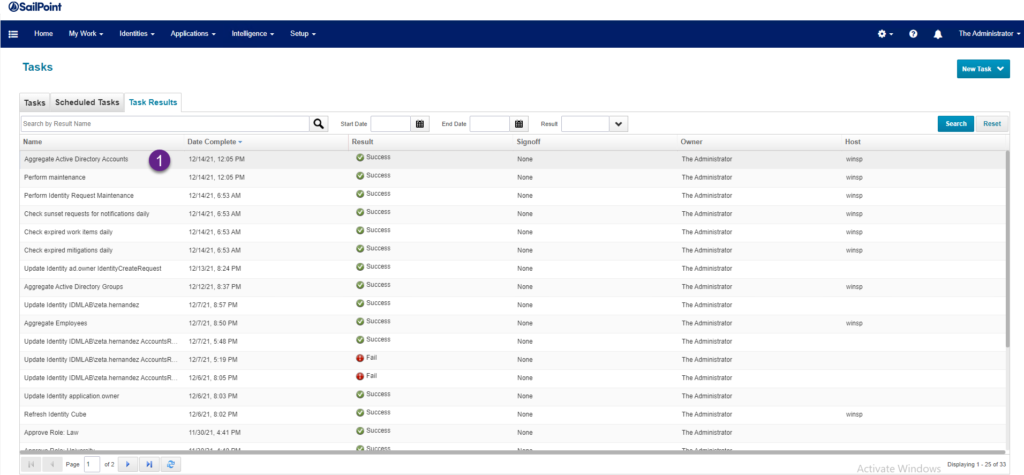
6. Now, click the Task Results tab, and you will see the task result for the recently Aggregate Active Directory Accounts execution.
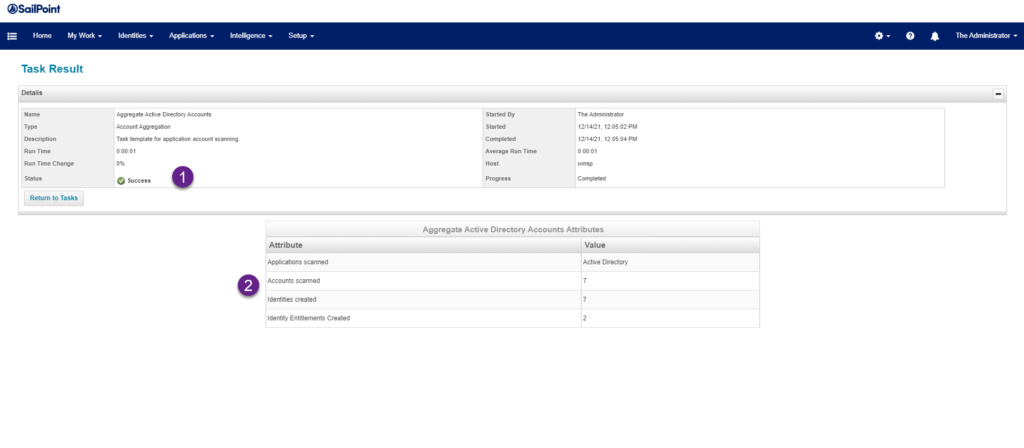
7. After you clicked in the Task, you will see the Task Result displaying the status and the list of accounts processed.
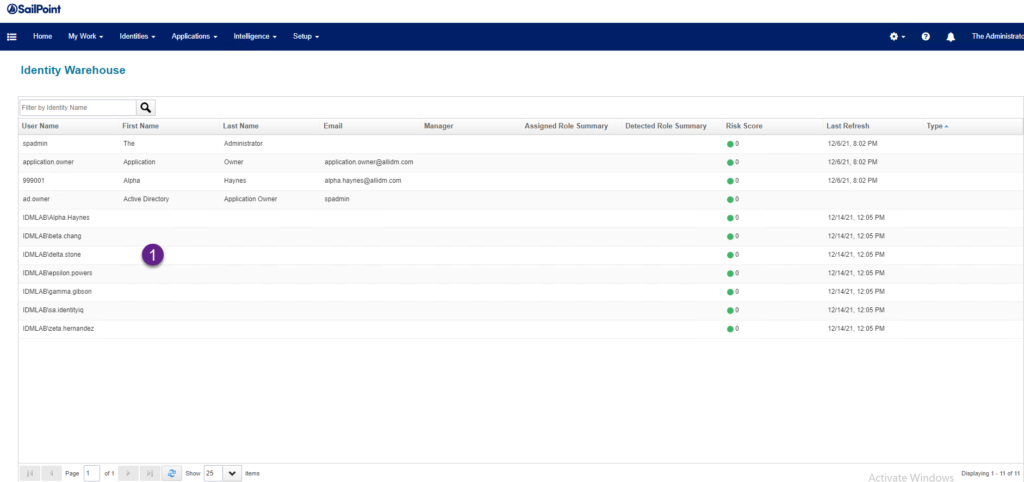
8. Now, if go to the menu Identities > Identity Warehouse, here you will the the list of aggregated Active Directory accounts.
The steps displayed before shows a simple execution for account aggregation in IdentityIQ.
Keep visiting us for more Sailpoint IdentityIQ quick reviews.
