Sailpoint IdentityIQ provides an out of the box connector for Active Directory. Following the steps required to initialize a basic configuration.
- Login to the IdentityIQ and click the Applications > Application Definition.

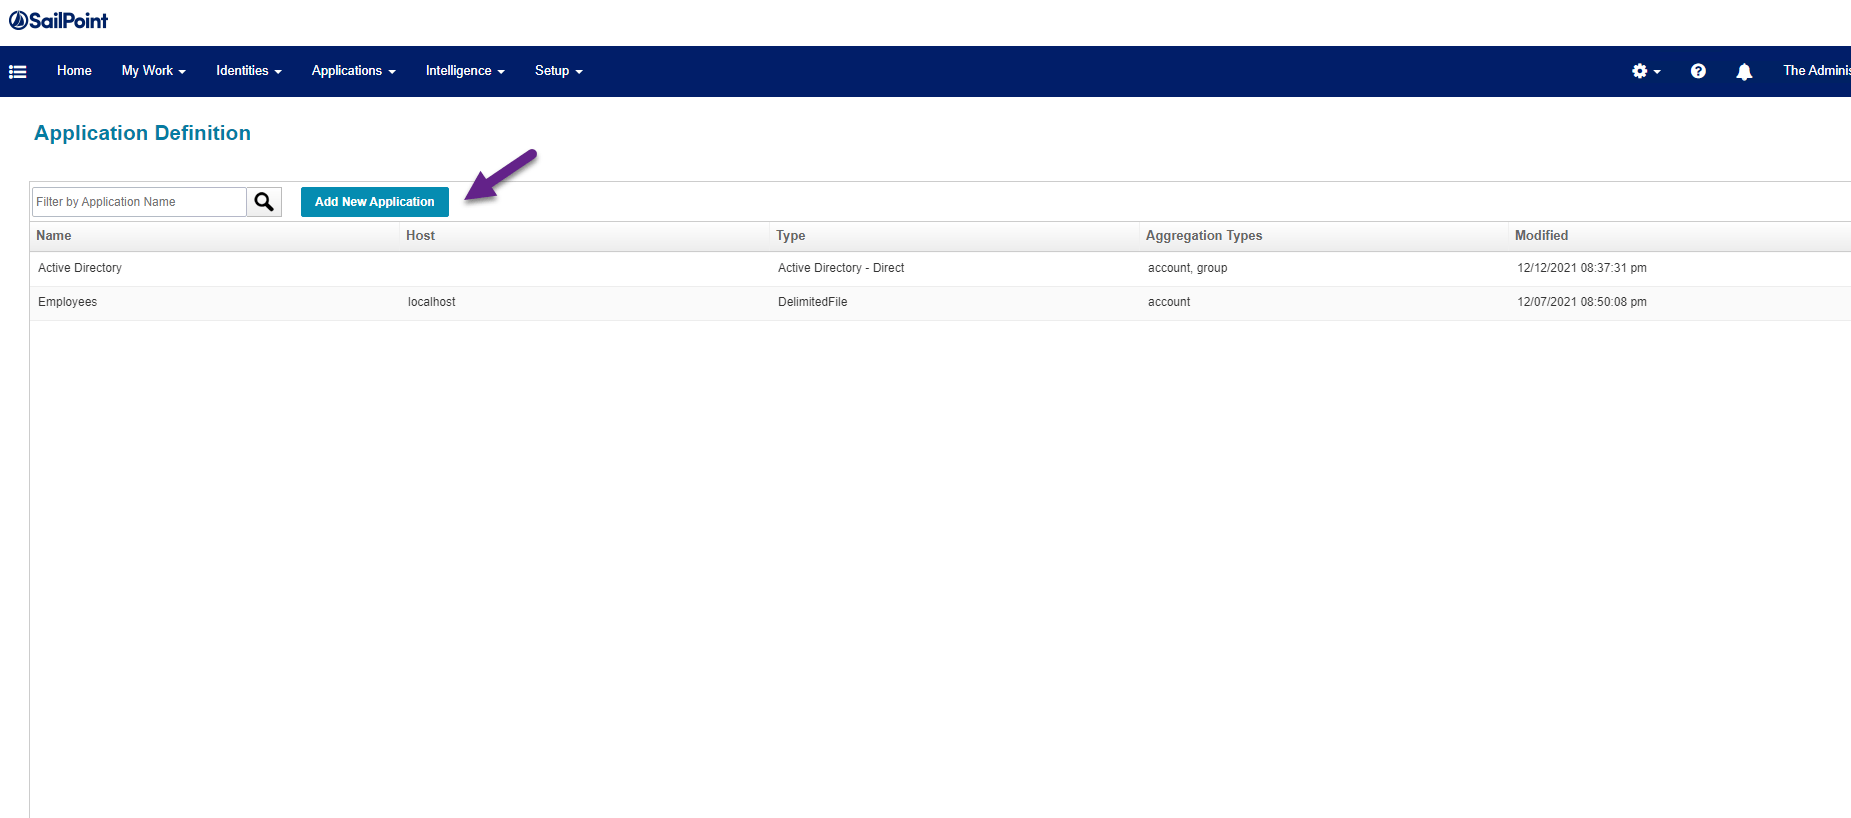
2. In the Application Definition screen, click in the Add New Application button.
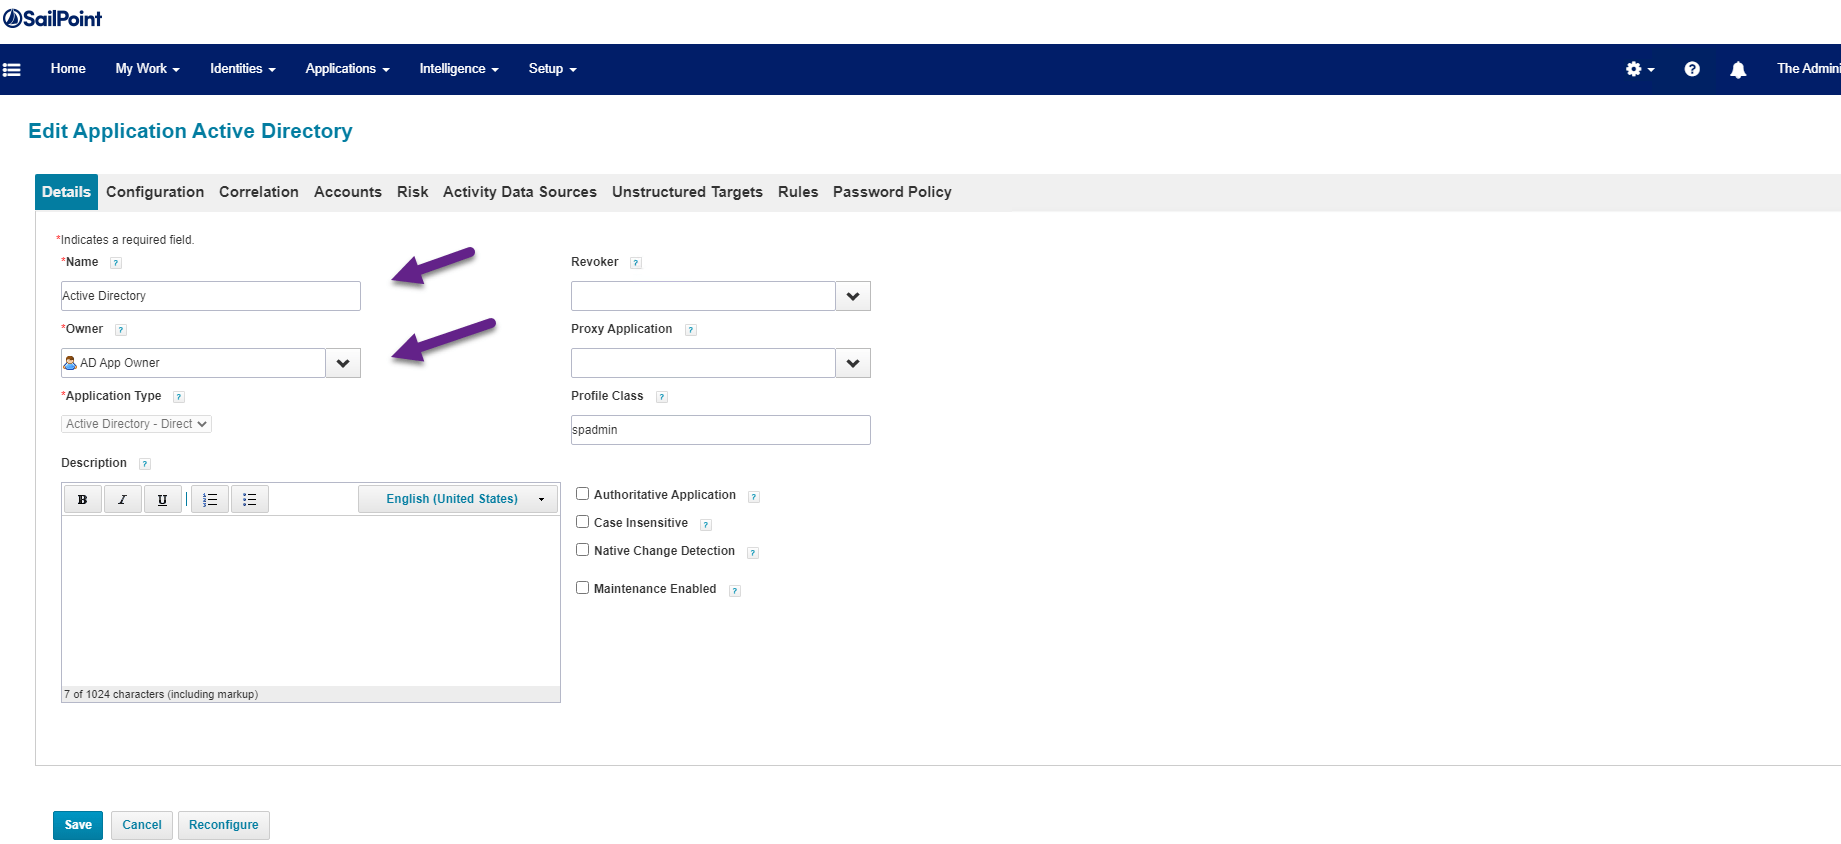
3. Select the application type Active Directory – Direct and then specify a name for the connection. Also, select an owner for the application. Typically this should be the AD stakeholder, this will allow IdentityIQ redirect request or certifications workflows.
4. Click the Configuration tab and fill the IQService, Forest & Domain information. Is important that your IQService is installed and the IQService user register in the service.

5. Scroll down and the Account Tabs will allow specify the Search DN for the Active Directory accounts.

6. Click the Group tab to configure the Search DN, this setting define which OU will be used to pull groups into IdentityIQ.

7. Scroll-down and now you can click the Test Connection, and if your settings are correct IdentityIQ returns Test Successful message. Click Save button and that will complete a simple Active Directory connector configuration for IdentityIQ.

Now IdentityIQ is ready to pull Active Directory accounts and groups and start the Identity Cube population.
Learn more for Sailpoint Identity – https://www.sailpoint.com/solutions/identityiq
Keep visiting us for more Sailpoint IdentityIQ quick reviews.
Gabriel Magarino
Gabriel Magarino – Senior Security Manager | IAM Evangelist - Experienced leader with over 20 years in the IT and cybersecurity industry, specializing in Identity & Access Management. Expert in Okta, One Identity, SailPoint (IdentityIQ & IdentityNow), OneLogin, Delinea, and CyberArk. Passionate about exploring IAM and emerging technologies, coaching, and training IAM teams. Holds a Master’s in Computer Science and multiple certifications, including Okta Professional & Administration, One Identity Architect & Instructor, SailPoint Identity Now, ITIL, Scrum Master, among others. Currently pursuing a PhD with a focus on Computer Science and Artificial Intelligence.