Sailpoint IdentityIQ – Configure Email Task Alerts
Sailpoint IdentityIQ allows you to configure alerts for any of your existent task. Follow describe the steps required to perform a basic configuration.
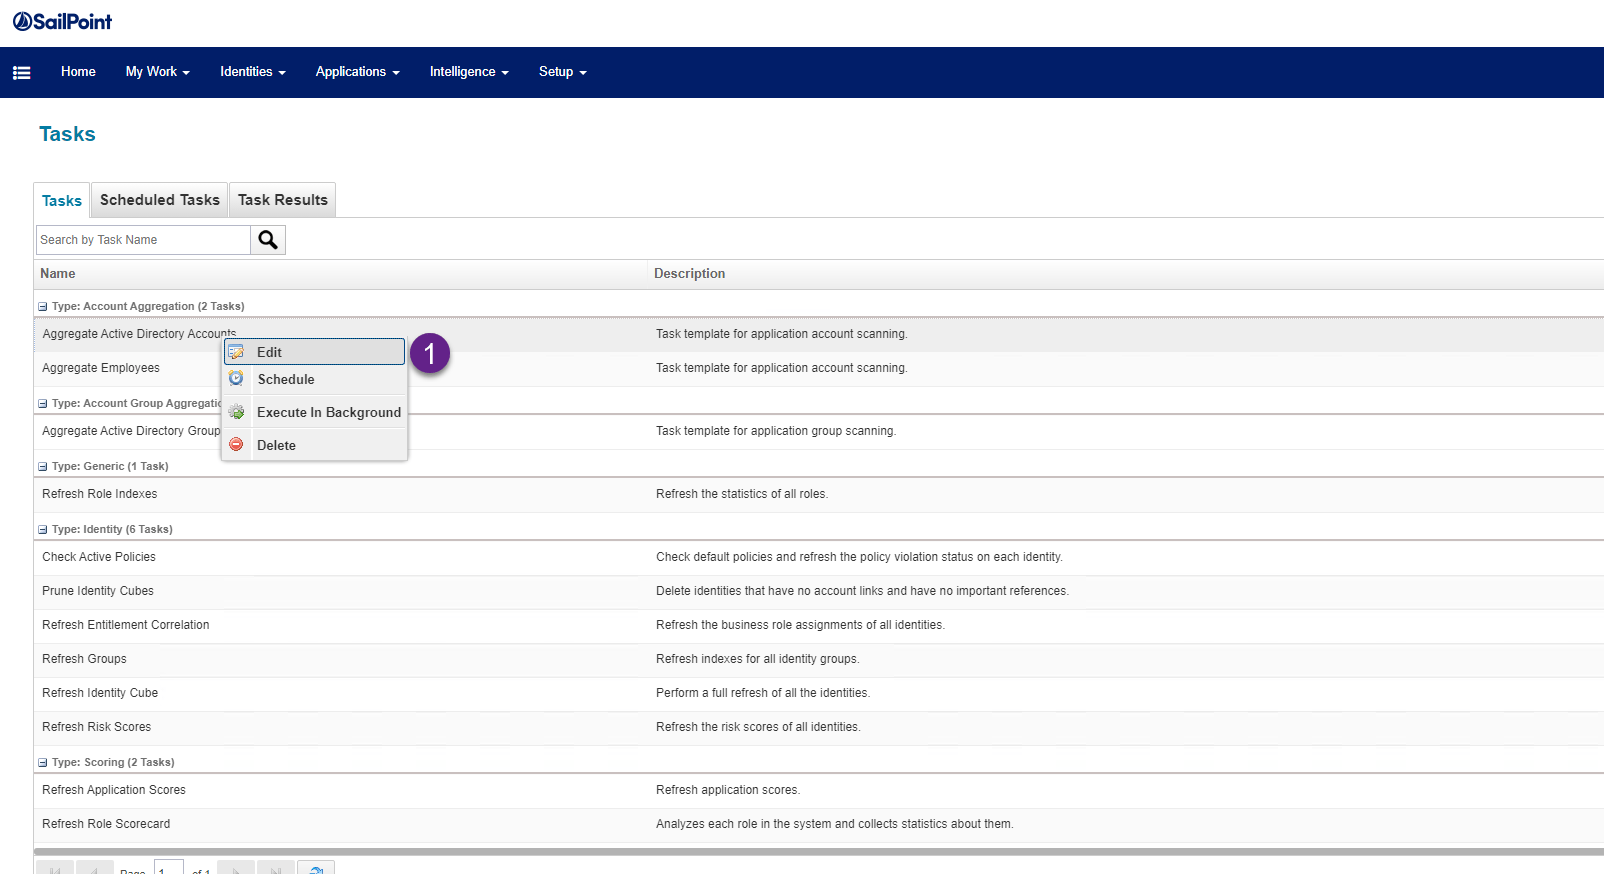
- Go to to the Setup > Task menu in your IdentityIQ deployments.

2. Select any of the existing task in your system. For this post we will show the Aggregate Active Directory Accounts task. Right click and select Edit option.
3. From the Edit task screen, go to the Email Task Alerts and in the Email Notifications select Always from the drop-down.

4. Now select the Email Recipients from the list. This is the person who will receive the email alert.

5. Now IdentityIQ is ready to send email notification every time the task is executed. Scroll down and click the Save and Execute button.

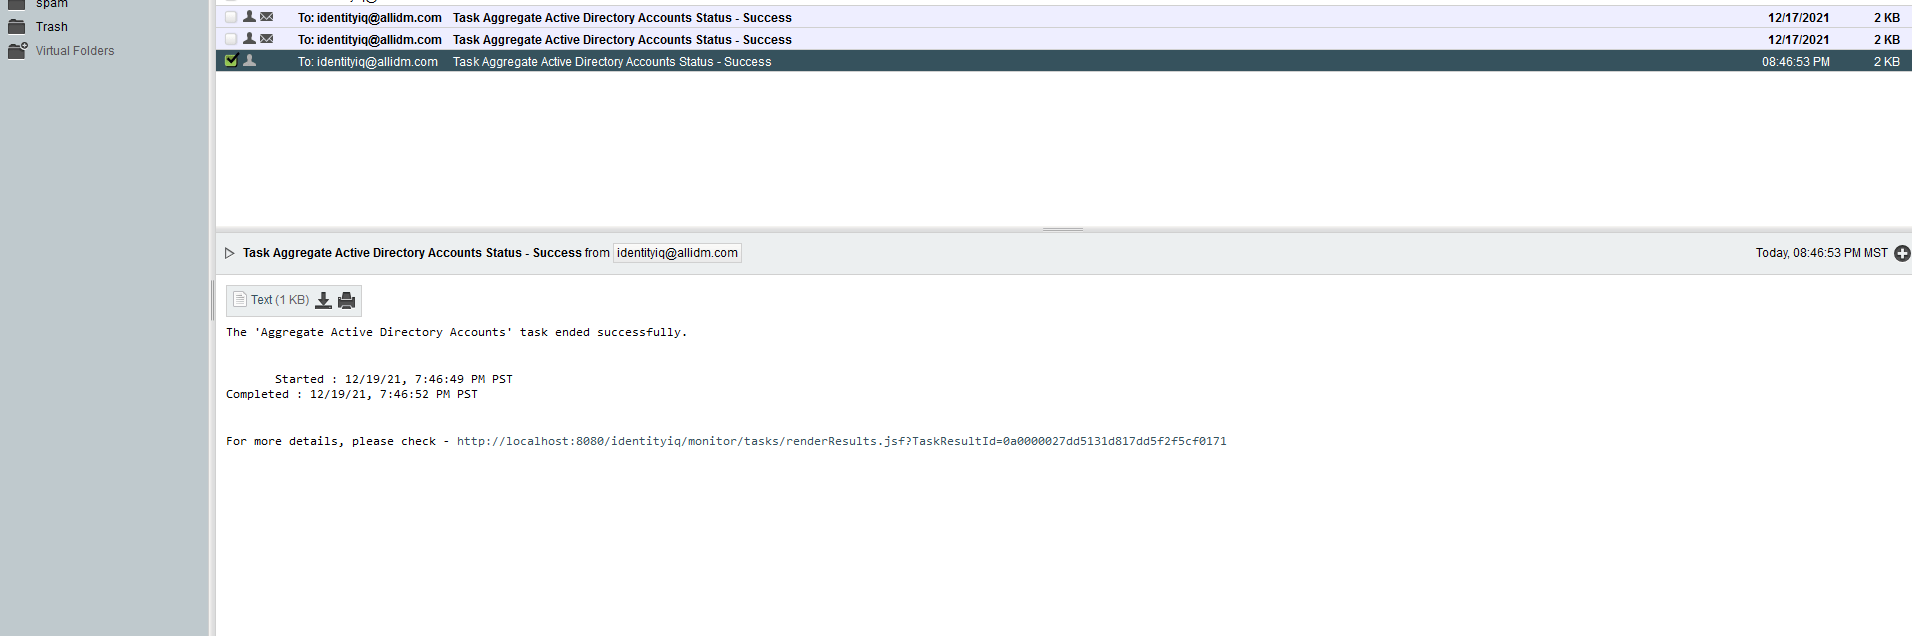
6. Once the IdentityIQ task is completed, the recipient will start getting an email with the alert.
Visit Sailpoint IdentityIQ to learn more about the product.
Keep visiting us for more quick reviews about IdentityIQ.
Gabriel Magarino
Gabriel Magariño is a Security Manager, Identity & Access Management Evangelist. He currently leads multiple deployment teams and specializes in One Identity products, and has recently expanded his repertoire to include IdentityIQ & IdentityNow by Sailpoint, Okta & One Login, CyberArk. Gabriel enjoys exploring other products like OpenIDM, OpenAM by ForgeRock, JumpCloud, and many others sharing technical knowledge on this web site. He has a Computer Science Master degree with additional certifications like ITIL, SCRUM, One Identity Architect,IdentityNow,etc.