As part of the IdentityIQ Active Directory connector configuration, IQService needs to be deployed. Following the steps required to perform a basic installation.
Prerequisites.
- Windows PowerShell 3.0 or above
- Active Directory Module for Windows PowerShell must be installed
Active Directory module for Windows PowerShell must be enabled.
- Using Server Manager click Add features.
- Under Remote Server Administration Tools, select Role Administration Tools.
- Select Active Directory module for Windows PowerShell option under AD DS and AD LDS Tools. At the end of the installation the installed feature should be selected.

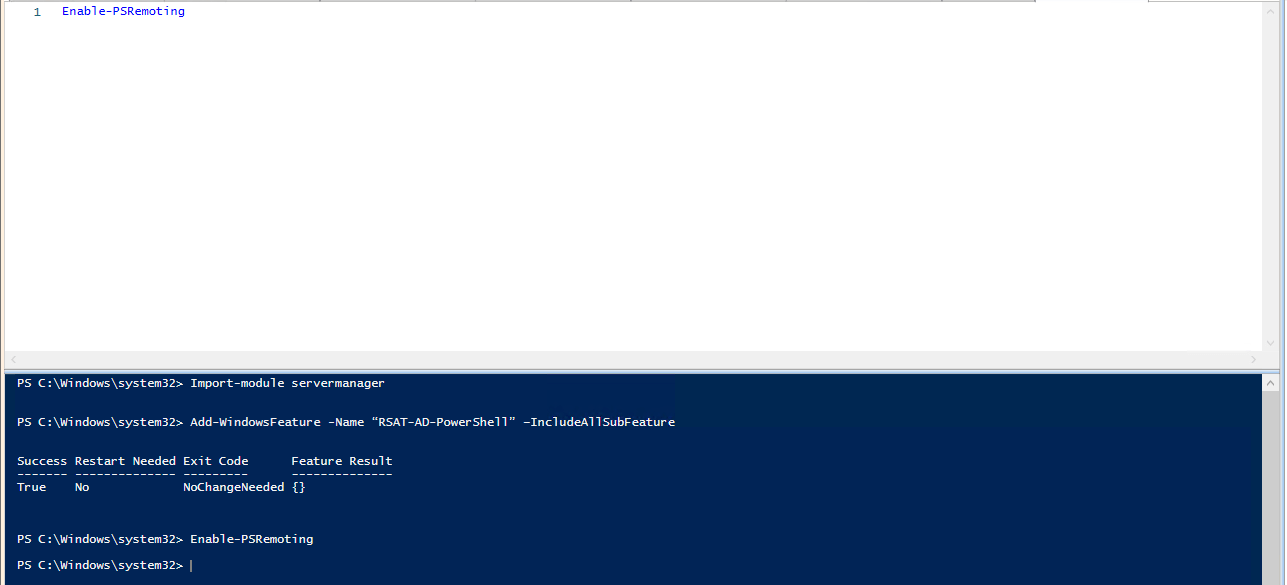
If you prefer, you can do a manual installation using a Powershell script.
Import-module servermanager

Add-WindowsFeature -Name “RSAT-AD-PowerShell” –IncludeAllSubFeature

Run Enable-PSRemoting PowerShell command on all domain controllers (DCs) in the forest which must be managed
4. Now install and register the IQService.
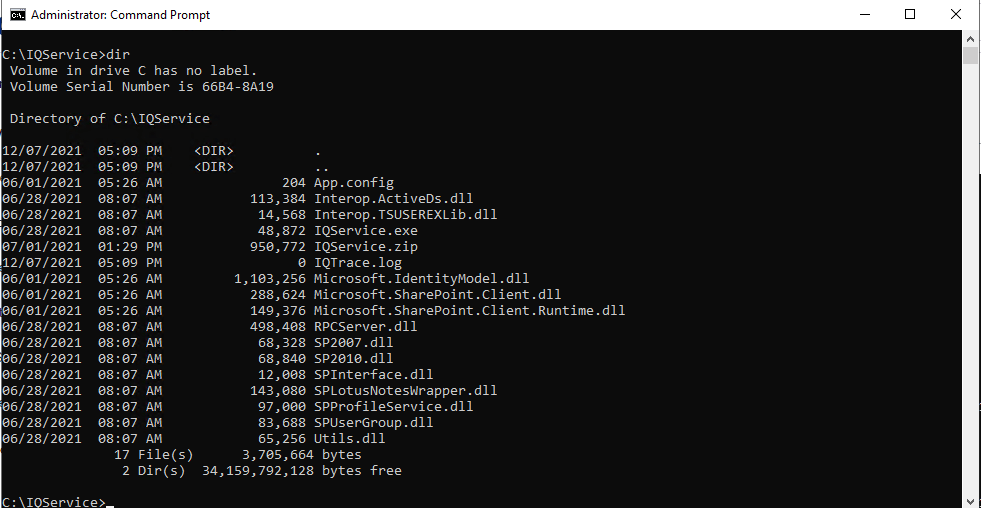
Create a directory in which you want to download the service and extract the IQService.zip. For example, C:\IQService.
The IQService.zip archive can be found in the IIQHOME\WEB-INF\bin\win directory of the IdentityIQ installation.
Display the folder content and IQService.exe is now available to be used.
5. Install the IQService using the command.
IQService.exe -i

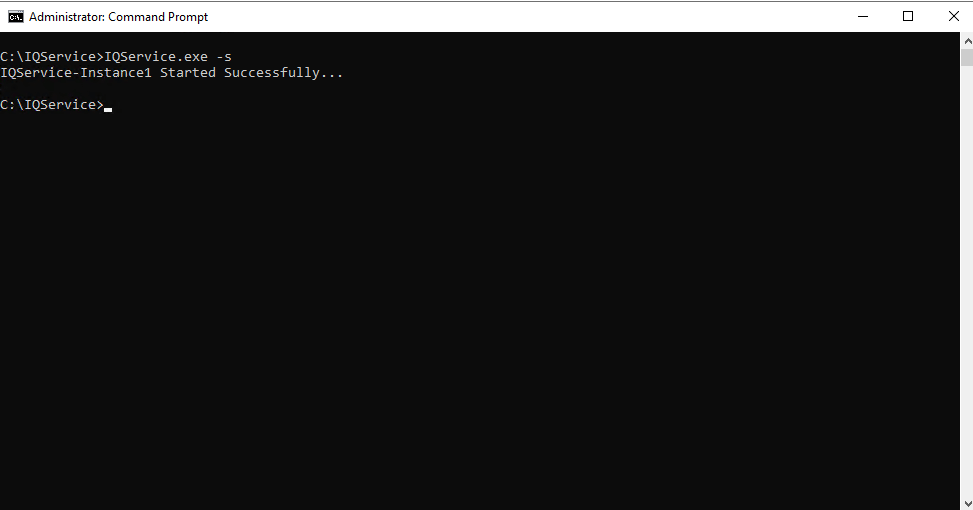
6. Start the service.
IQService.exe -s
7. Check the windows services, and the Sailpoint IQService-Instance1 is installed.

8. Next step is to register the service account to be used to provision Active Directory within the IQService.
IQService.exe -a IDMLAB\sa.identityiq

9. Verify the account was register. Run the following command:
IQService.exe -a list

Restart the IQservice,and now the Active Directory Connector is ready for provisioning actions after it is configured in IdentityIQ.
Keep visiting us for more quick reviews for Sailpoint IdentityIQ.
Gabriel Magarino
Gabriel Magarino – Senior Security Manager | IAM Evangelist - Experienced leader with over 20 years in the IT and cybersecurity industry, specializing in Identity & Access Management. Expert in Okta, One Identity, SailPoint (IdentityIQ & IdentityNow), OneLogin, Delinea, and CyberArk. Passionate about exploring IAM and emerging technologies, coaching, and training IAM teams. Holds a Master’s in Computer Science and multiple certifications, including Okta Professional & Administration, One Identity Architect & Instructor, SailPoint Identity Now, ITIL, Scrum Master, among others. Currently pursuing a PhD with a focus on Computer Science and Artificial Intelligence.